Be sure to check out my About page for some big changes to my goals. It's all bleedin' comin' together.
Monday, June 17, 2013
One More Thing -
Update All the Things!
Lack of blogging is not the same as lack of doing. I've been working full time and have not had a solid internet connection for the last 2 months, hence the break. Here's an extra long run down of project statuses.
Nightstand
The nightstand is complete! Such a pretty thing, you are, too! I'm very impressed by how the veneer turned out. This is the original wood, stripped of lacquer and stained. Next step is to find a resale shop that will get us the best value on the sale.
Watchmaker's Desk
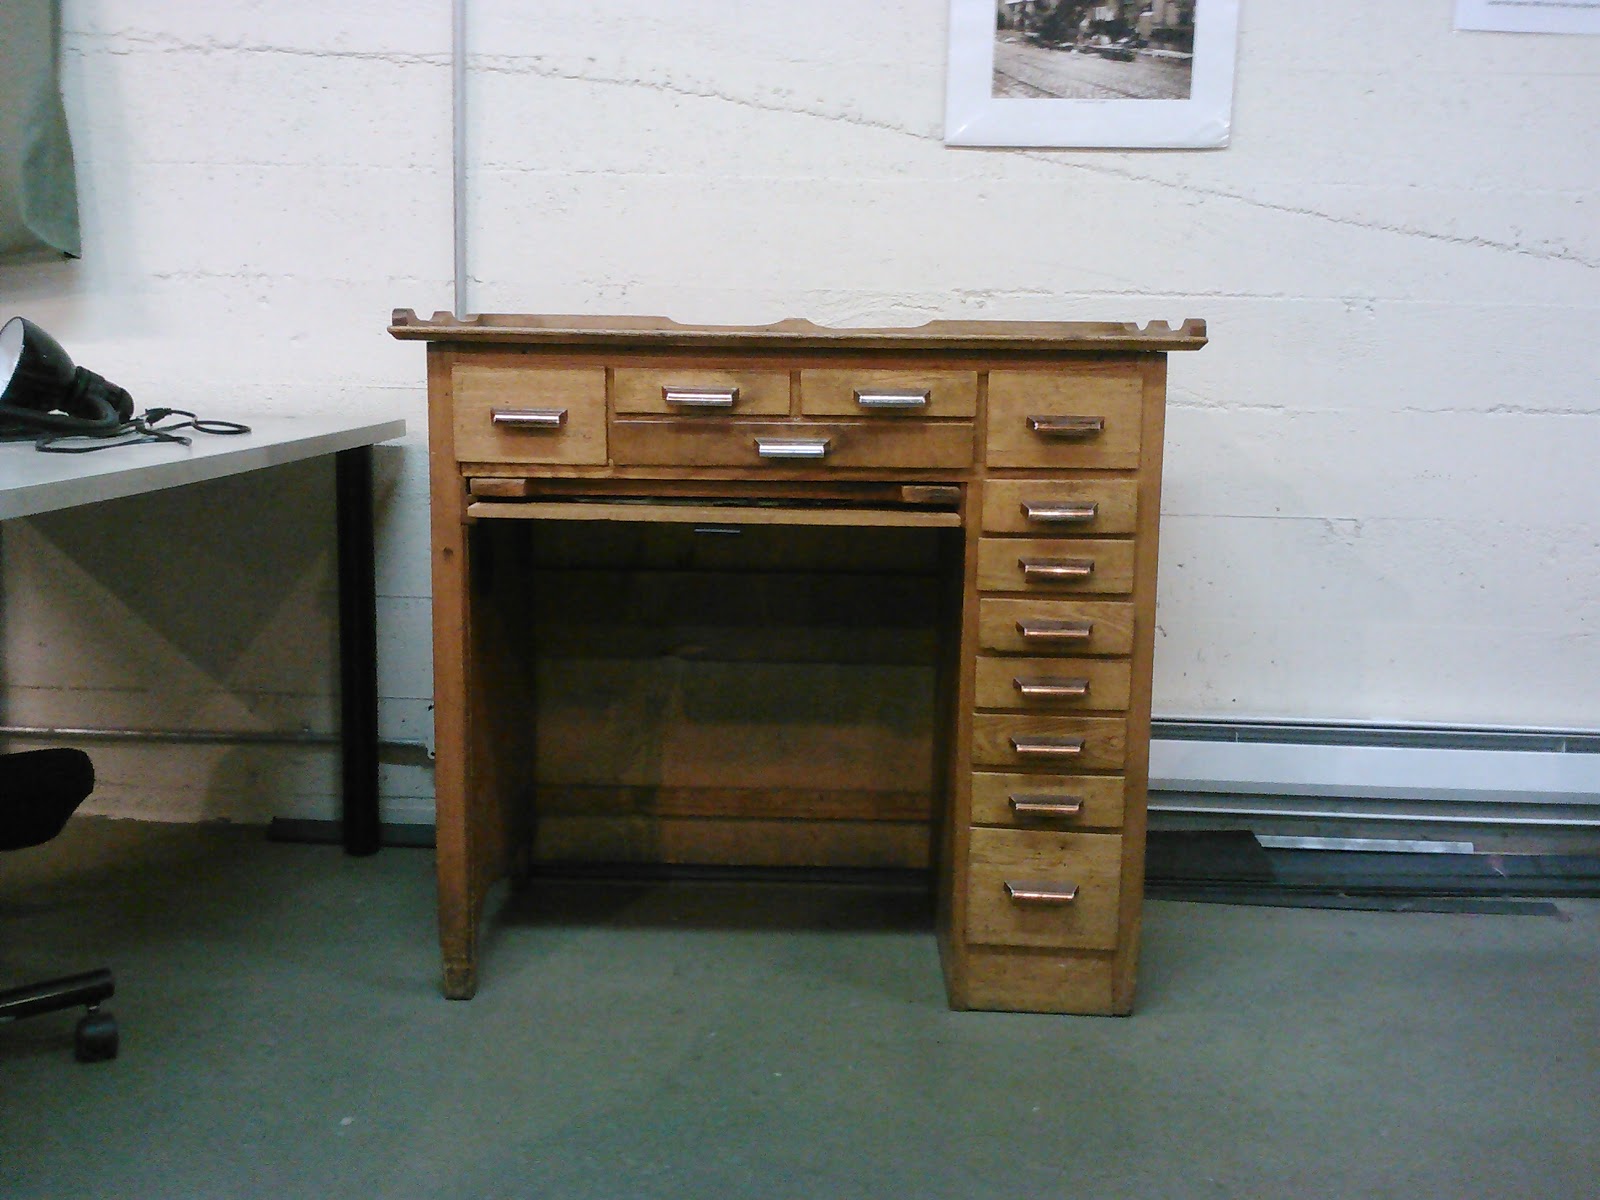
Remember this guy? We were able to date it to Circa 1930-40 by the Bakelite plugs, located inside the left leg. I've given it a good cleaning with gentle soap, and we'll be refinishing the top only, and connecting new, period correct wiring to the two outlets before we put it up for sale. For you "Antiques Road Show" junkies out there - YES it's fine to clean and/or refinish most furniture while still maintaining the value. It's only certain furniture houses, styles and periods of furniture that should be left alone. We're still taking the minimal approach, but these improvements will actually increase the value of the desk overall.
Kitchen Remodel
Yes, we rent. Yes, we know about lead paint. Yes, we stripped and refinished all of the cabinets in our kitchen. This project is not quite done, as we still need to paint some of the doors, but it's close. I'll actually update closer to real time once we get the paint on the walls. Here's a taste:
We still need to attach the catches, but the doors now close completely! Something about removing 80 years of paint layers did the trick. The lower right cabinet is an old ice box. The weatherstripping is still in tact. We plan on finding a replacement icebox closer handle for it so it can seal properly. That should keep our flour and potatoes happy.
Costume
This is a hard one for me. I had to admit that I hate sewing. To be honest, this was a big relief for me, and no particular surprise to my husband. I'm finally willing to farm out creative work that makes me hostile, and only do work that actually makes me feel happy. That was the point of this whole blog anyway, right? To figure out what I really like and what I really don't? Anyway, this project won't be done until I can afford to hire one of my friends to do the construction from my pattern. I'm still labeling it a success.
Graphic Design
Something I actually like doing and am now getting paid to do Freelance; I've been commissioned to create marketing documents for a local street fair, including poster, save the date and logo. This work I really enjoy, even if I do occasionally yell at the mouse for sticking. The poster and logo are already approved and should go to print next week. I won't post images until then, but there will be a "concept" and "client" version of each.
Other Stuff
The earrings are on hold until the kitchen is done, and my husband is going to take the lead on getting the catalog complete and new designs to the laser cutter. Bunarchy did not occur this year, it seems, so no bunny costume. As far as fitness goals, I'm doing very well, down about a size and a half from January, with a size and a half to go.
And that's about all there is to say about that.
Nightstand
The nightstand is complete! Such a pretty thing, you are, too! I'm very impressed by how the veneer turned out. This is the original wood, stripped of lacquer and stained. Next step is to find a resale shop that will get us the best value on the sale.
 |
| Before - Missing a drawer side and 2 pieces of trim veneer. |
 |
| Completed - Stained exterior, painted interior. |
Watchmaker's Desk
Remember this guy? We were able to date it to Circa 1930-40 by the Bakelite plugs, located inside the left leg. I've given it a good cleaning with gentle soap, and we'll be refinishing the top only, and connecting new, period correct wiring to the two outlets before we put it up for sale. For you "Antiques Road Show" junkies out there - YES it's fine to clean and/or refinish most furniture while still maintaining the value. It's only certain furniture houses, styles and periods of furniture that should be left alone. We're still taking the minimal approach, but these improvements will actually increase the value of the desk overall.

 |
Kitchen Remodel
Yes, we rent. Yes, we know about lead paint. Yes, we stripped and refinished all of the cabinets in our kitchen. This project is not quite done, as we still need to paint some of the doors, but it's close. I'll actually update closer to real time once we get the paint on the walls. Here's a taste:
 |
| Gross and Yellow |
 |
| Clean and White |
Costume
This is a hard one for me. I had to admit that I hate sewing. To be honest, this was a big relief for me, and no particular surprise to my husband. I'm finally willing to farm out creative work that makes me hostile, and only do work that actually makes me feel happy. That was the point of this whole blog anyway, right? To figure out what I really like and what I really don't? Anyway, this project won't be done until I can afford to hire one of my friends to do the construction from my pattern. I'm still labeling it a success.
Graphic Design
Something I actually like doing and am now getting paid to do Freelance; I've been commissioned to create marketing documents for a local street fair, including poster, save the date and logo. This work I really enjoy, even if I do occasionally yell at the mouse for sticking. The poster and logo are already approved and should go to print next week. I won't post images until then, but there will be a "concept" and "client" version of each.
Other Stuff
The earrings are on hold until the kitchen is done, and my husband is going to take the lead on getting the catalog complete and new designs to the laser cutter. Bunarchy did not occur this year, it seems, so no bunny costume. As far as fitness goals, I'm doing very well, down about a size and a half from January, with a size and a half to go.
And that's about all there is to say about that.
Tuesday, April 23, 2013
Sushi Experiment
I finally decided to branch out and try making sushi from something other than salmon. Here we have salmon and tilapia! I still prefer the salmon, but the tilapia was a welcome addition.

Wednesday, February 27, 2013
Next generation of the catsuit.

I'm just going to wear this around the house now...
Sunday, February 24, 2013
Earrings, Cat Suit and Work Toward an Actual Goal
Project updates, in no particular order -
Code
I'm getting pretty confident in my ability to create basic web design. I use Codeacademy.com to learn basic html, CSS and Java. I'll be starting Ruby soon. If you are looking for work in ANY field, I suggest doing this, even if these skills seem completely unrelated to your job. It shows you are interested in building you skills in your downtime and gives you more terms to use on a resume.
Earrings, now in BUNNIFORM!

Plain

Gilded
Costume
Remember I'm making this:

Here's a bizarre pattern, made from scratch per my measurements:
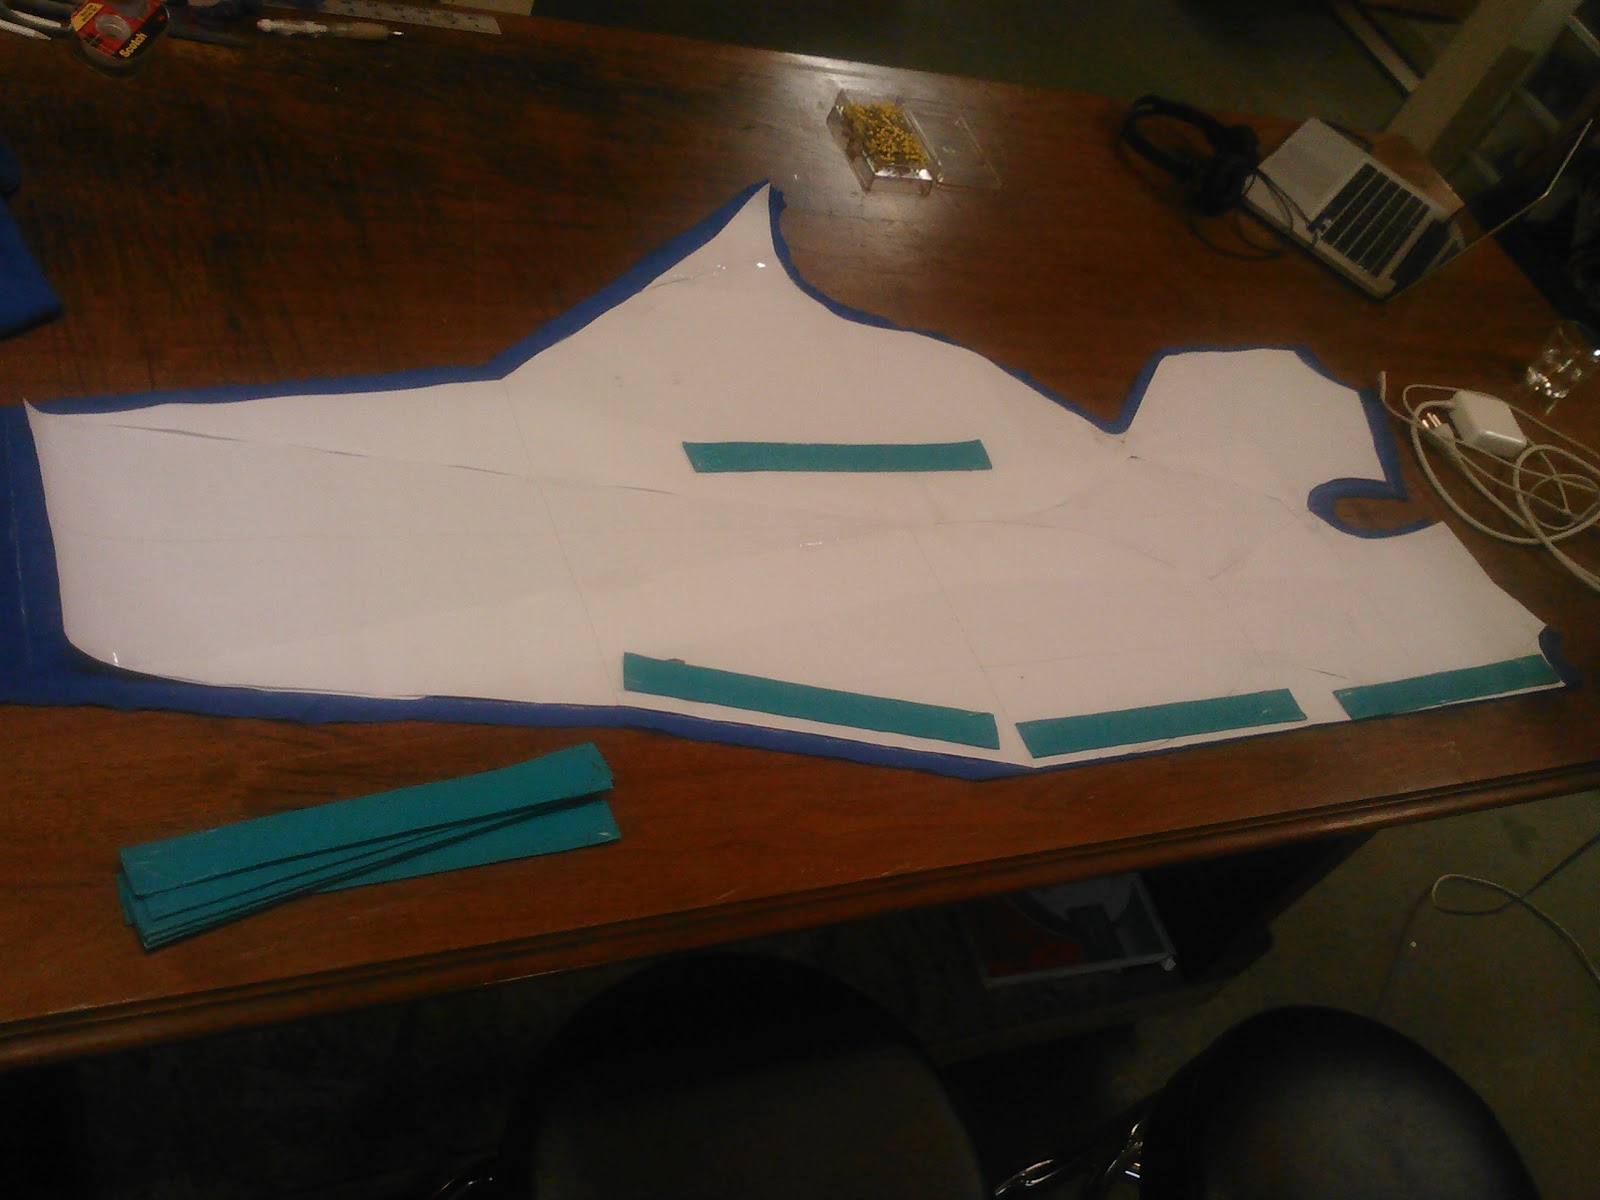
Here's a cat suit, made from said pattern:

This is the mock-up prior to adjusting the pattern. Note, no side seams, no center front seam. I shortened the crotch extension and trued up the leg seams on the pattern after this fitting. One more mock up, and I can start adjusting the pattern to contain the style lines of the actual costume.
Nightstand
I threw a few more coats of paint on the interior of the nightstand project while I was patterning. It should be ready for the complete exterior stain and polyurethane coat soon.
Upcoming Projects
In a few weeks, we'll be making a spice rack on wheels for my kitchen and a set of Roman shades for the living room.
Friday, February 8, 2013
Another Daily Awesome - Gold Leaf
So, what's going on here? Well, I've made some of my cardboard designs more awesome by applying gold leaf! It was easy enough to follow the instructions on the package.
 |
| Here are some boring bits, waiting for something to make them more interesting. They've been coated with sealant. |
 |
| That's a sheet of gold on the left. The earrings on the right are all prepped with sealant and adhesive. |
 |
| The earrings on the left are adhering to the gold. on the right are the stages of buffing the leaf onto the surface with the brush. The tough part is getting it to clear from the holes. |
 |
| Here they are with fully applied leaf! |
 |
| These are the finished product with sealant and findings. |
Please let me know if you are interested in any of these or a custom product. I'm also happy to share any knowledge on applying gold leaf.
Daily Awesome - Sleep Mask
You may recall that I purchased a paper mache mask a few weeks back. Here's how it went. I used purple quilted fabric and black satin, plus flannel bias binding for the edge and satin ribbon for the ties. This took several days of spare time, but could be done in a day if someone were so inclined.


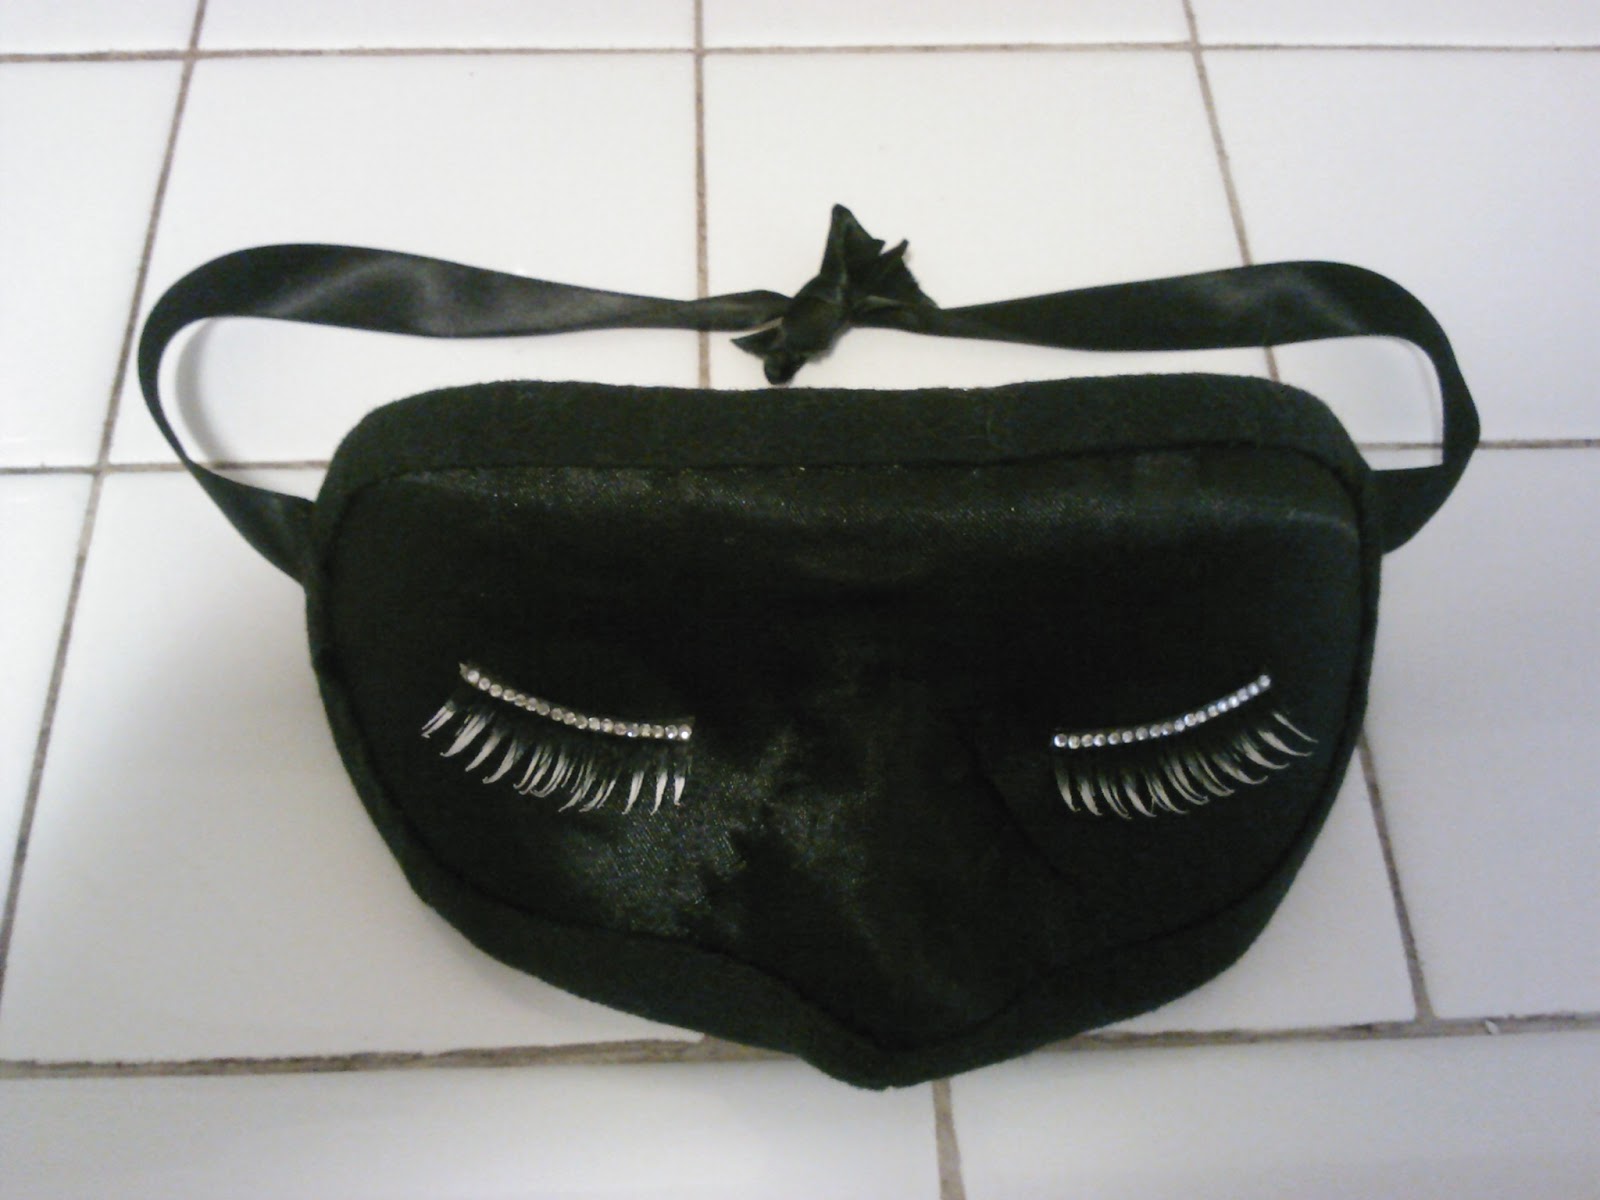

I slept in the mask last night. It's a bit stiff and there is still a bit of a light leak at the bottom. I think that I'll wear a gel mask under it and see how it feels.

The mask as purchased.

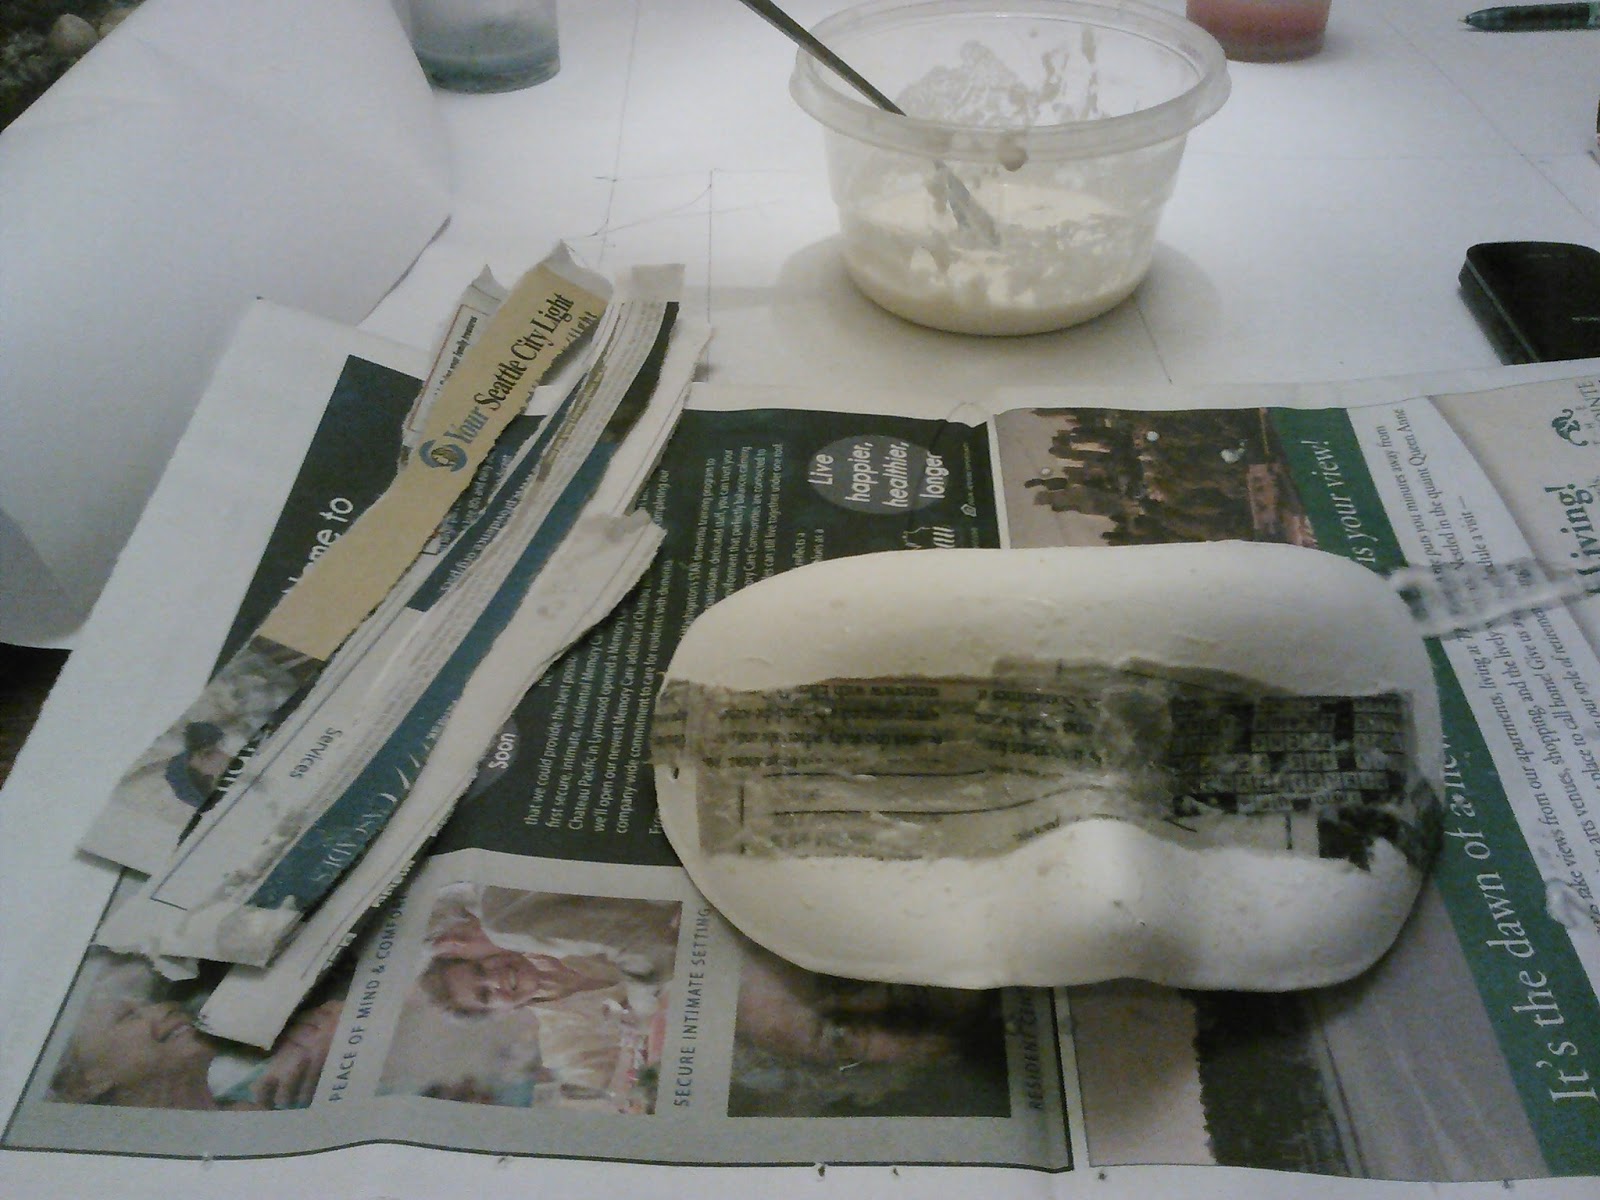
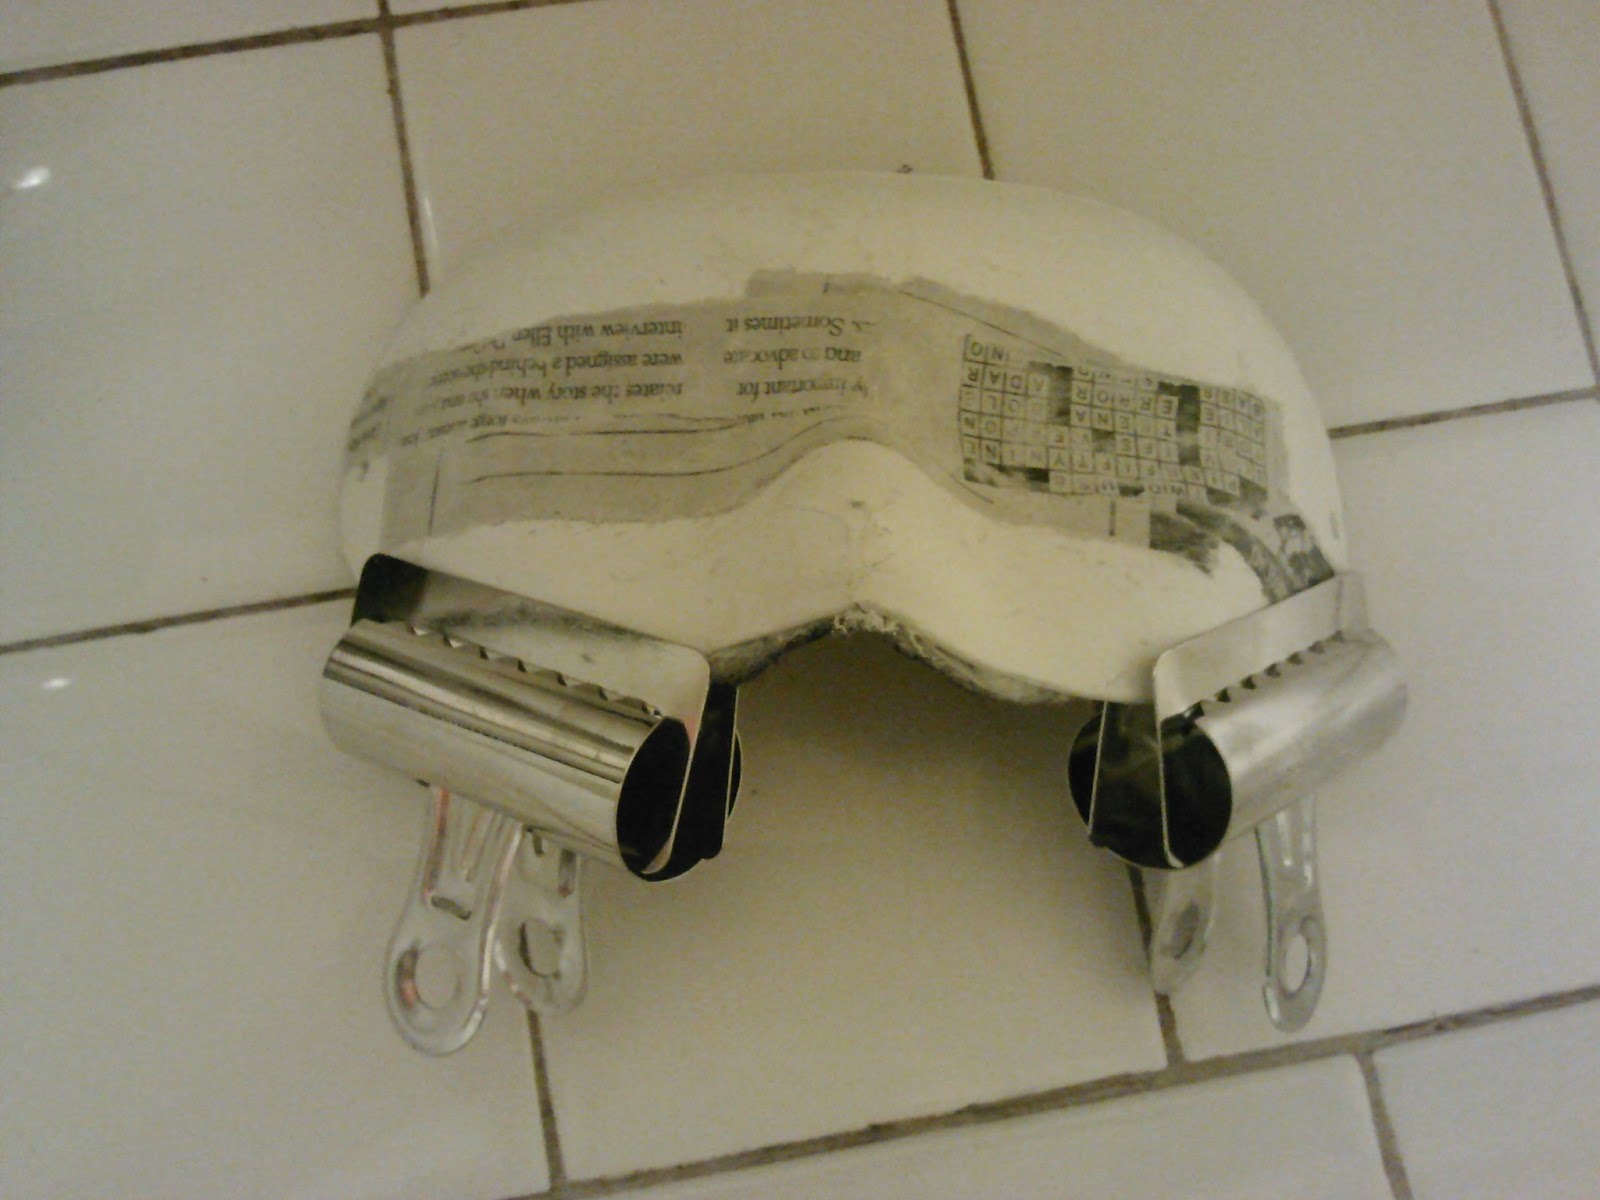
As it's going to be a sleep mask, I needed to close the eye holes. This is just paper mache made from newspaper and flour/water paste.

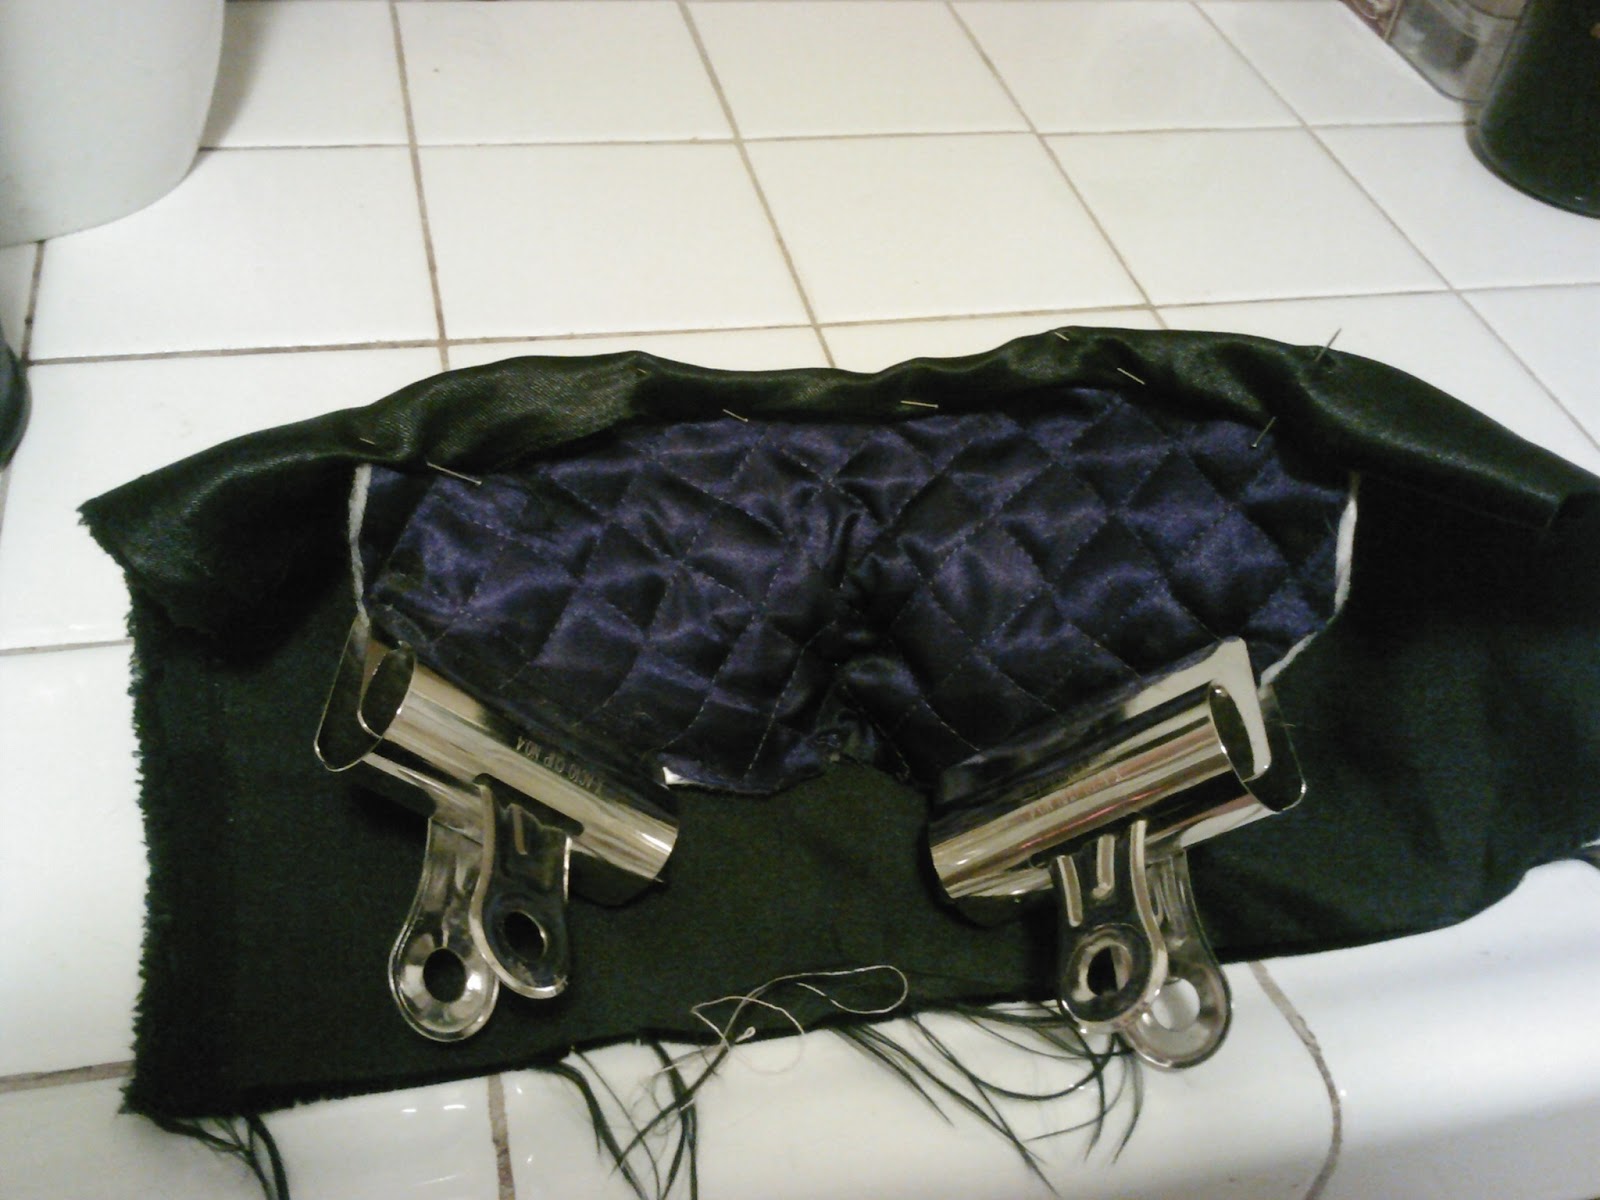
Here I glued some quilted fabric to the interior for padding.

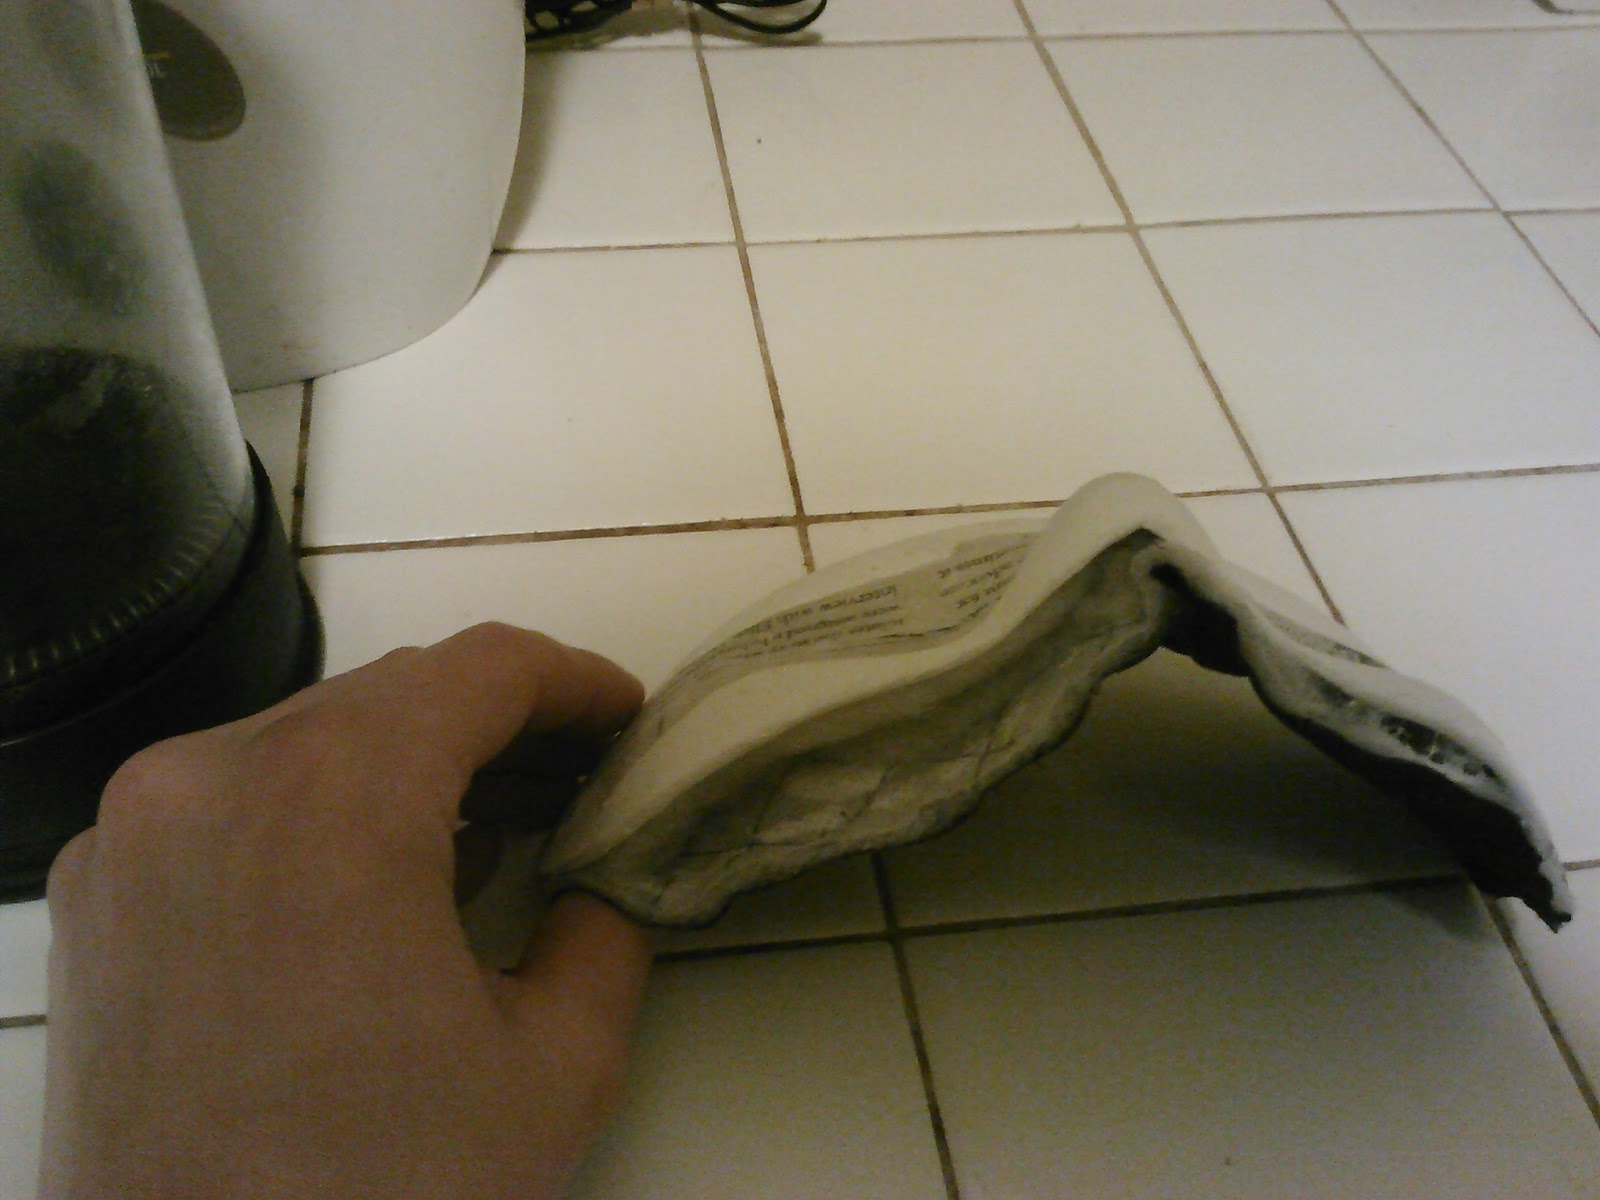
I stuffed some extra fill into the cheeks to close the light leaks.

Glued and clamped the cheeks to the form.

Same image from the front.

Glued the front fabric to the front of the form and pinned the excess to the back.

Same view from the front.

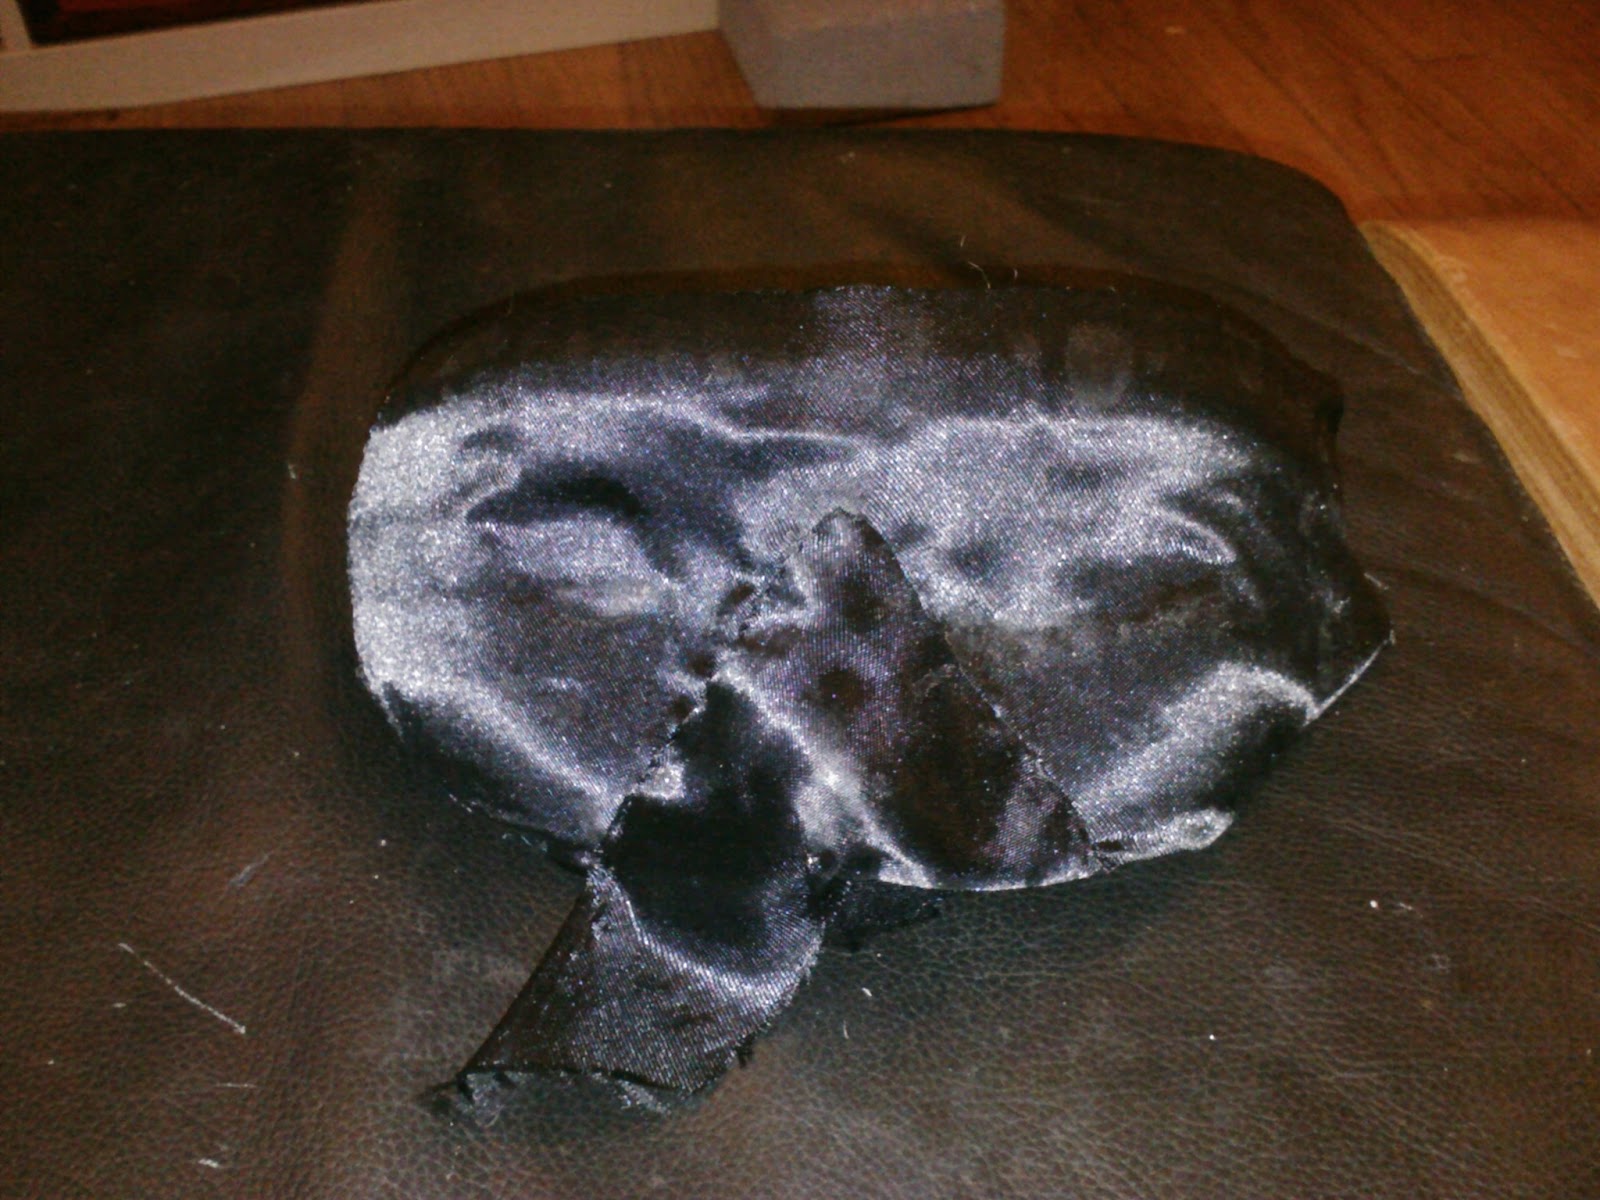
Same view, with the fabric rolled down. I next ran glue down the eyes and on the cheeks to make the fabric tight on the face.

In order to smooth the fabric over the nose, I slit the fabric down the length of the nose, then added a triangular piece to cover the hole.

First was to sew the nose fabric to the glued on front fabric...

...then roll the excess to the back.

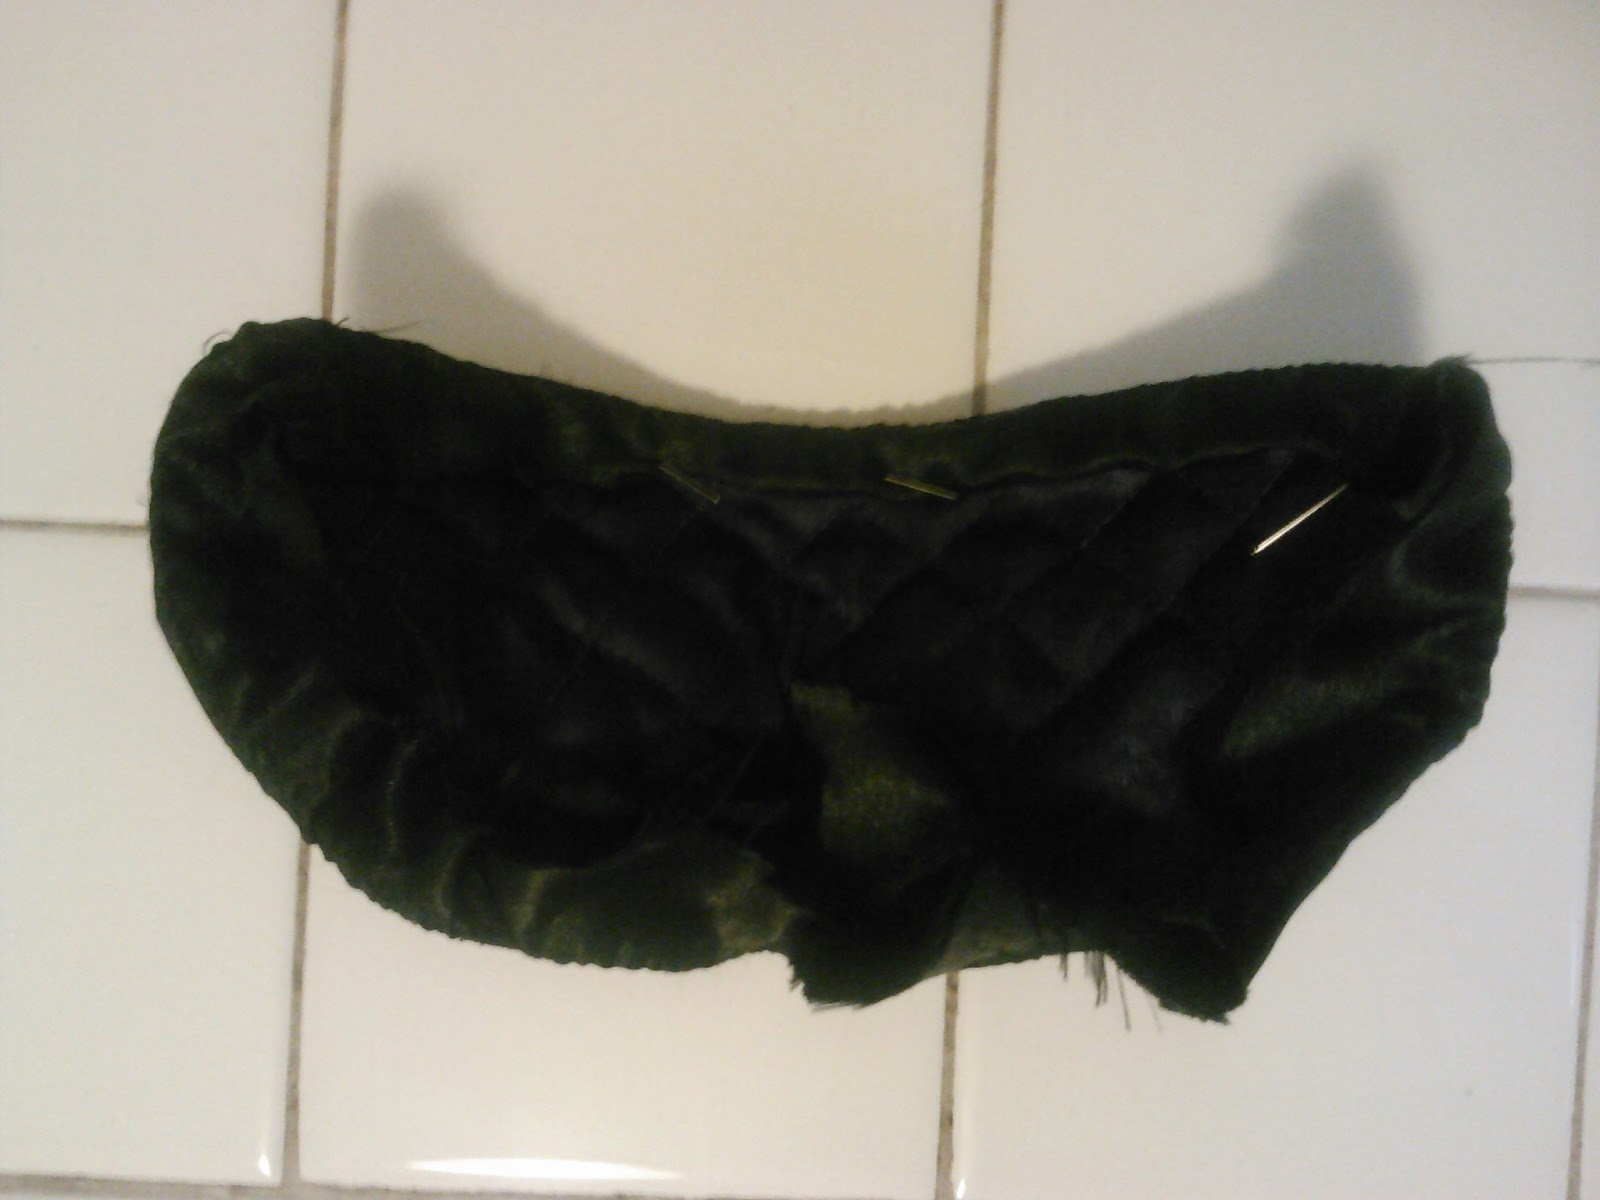
Here I am stitching around the edge of the form to keep the fabric rolled away from the face. The nose has a seam where I closed the hole around the nostril edge. It will be hidden later.

The finished edge.

A prettier view on my counter top. The back is still raw.

I trimmed and tacked the fabric at the back, but the edge won't conform to the interior as the front fabric is not stretchy. I used Fray Block to keep the raw edges from getting too stringy.

I employed some flannel bias binding to cover the raw edges and decorate the front. Bias tape conforms to curves and flannel is very soft. It was first stitched to the front, then to the back. You can also see that I added in the ties under the bias tape. This is the finished interior.

And here is the finished front, complete with adorable sleepy eye lashes.


Subscribe to:
Posts (Atom)