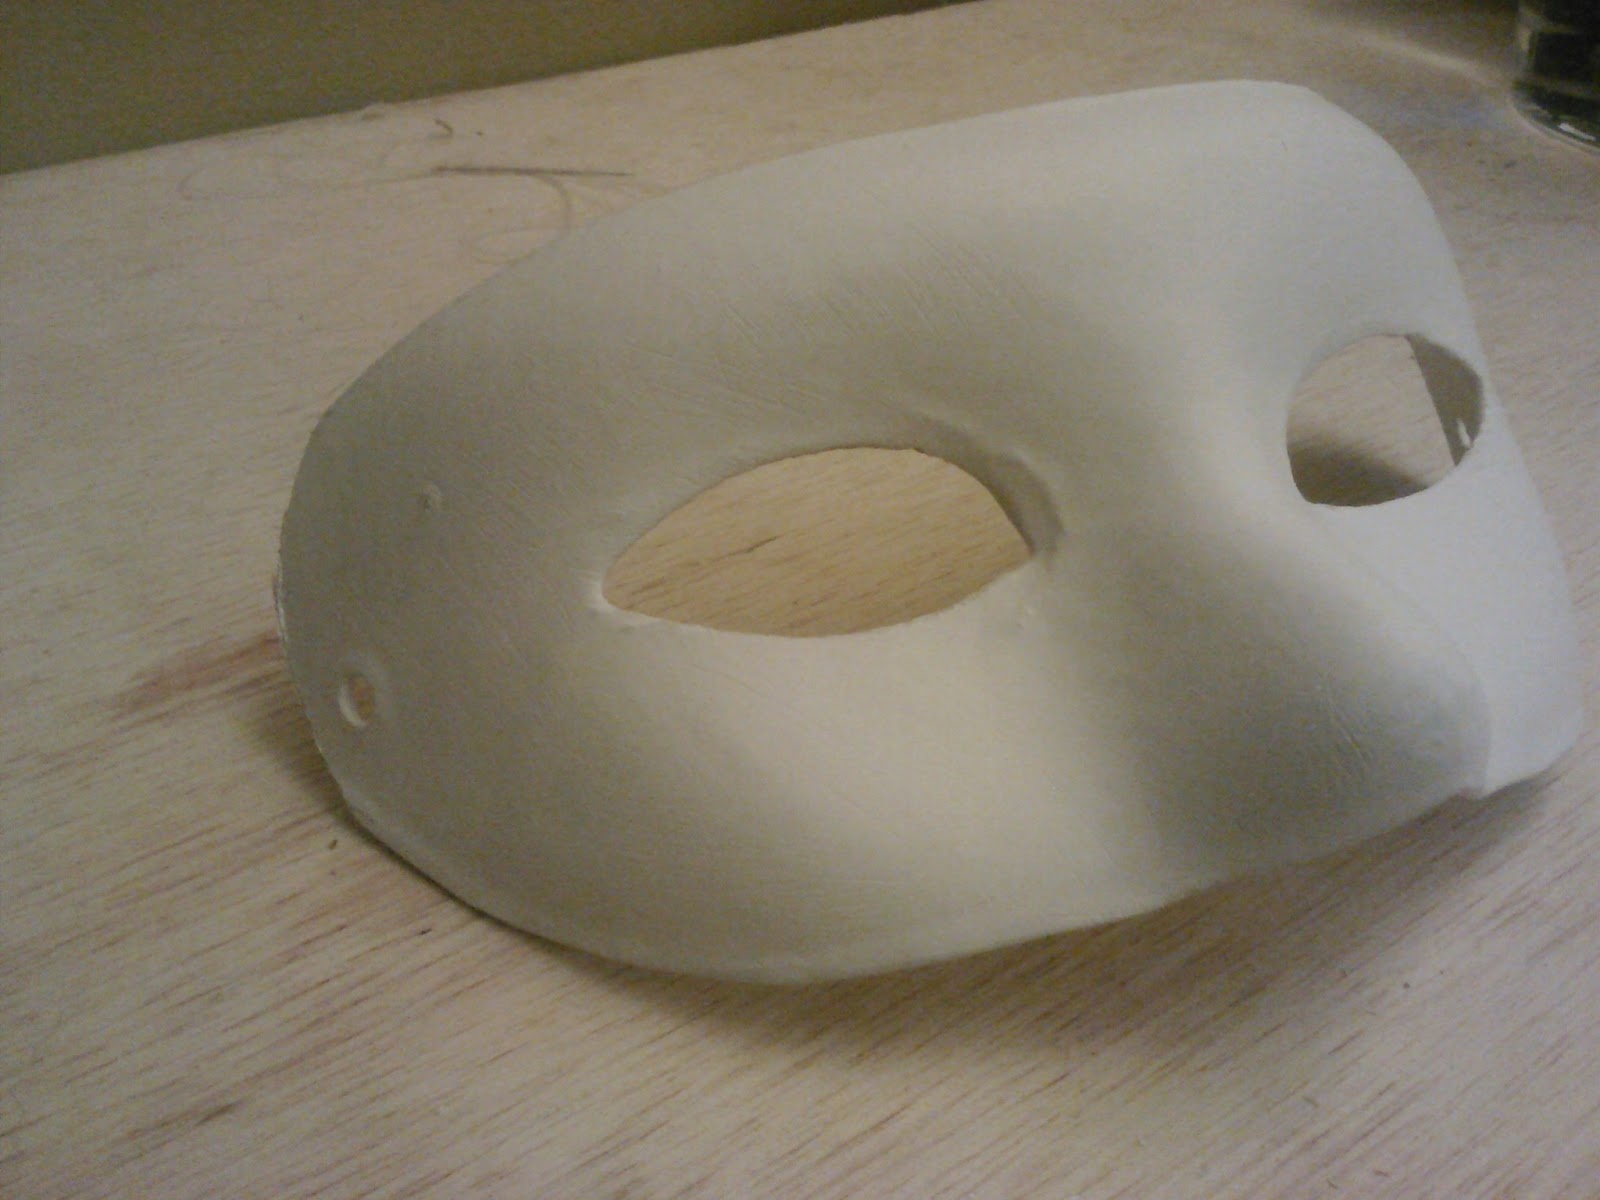
The mask as purchased.
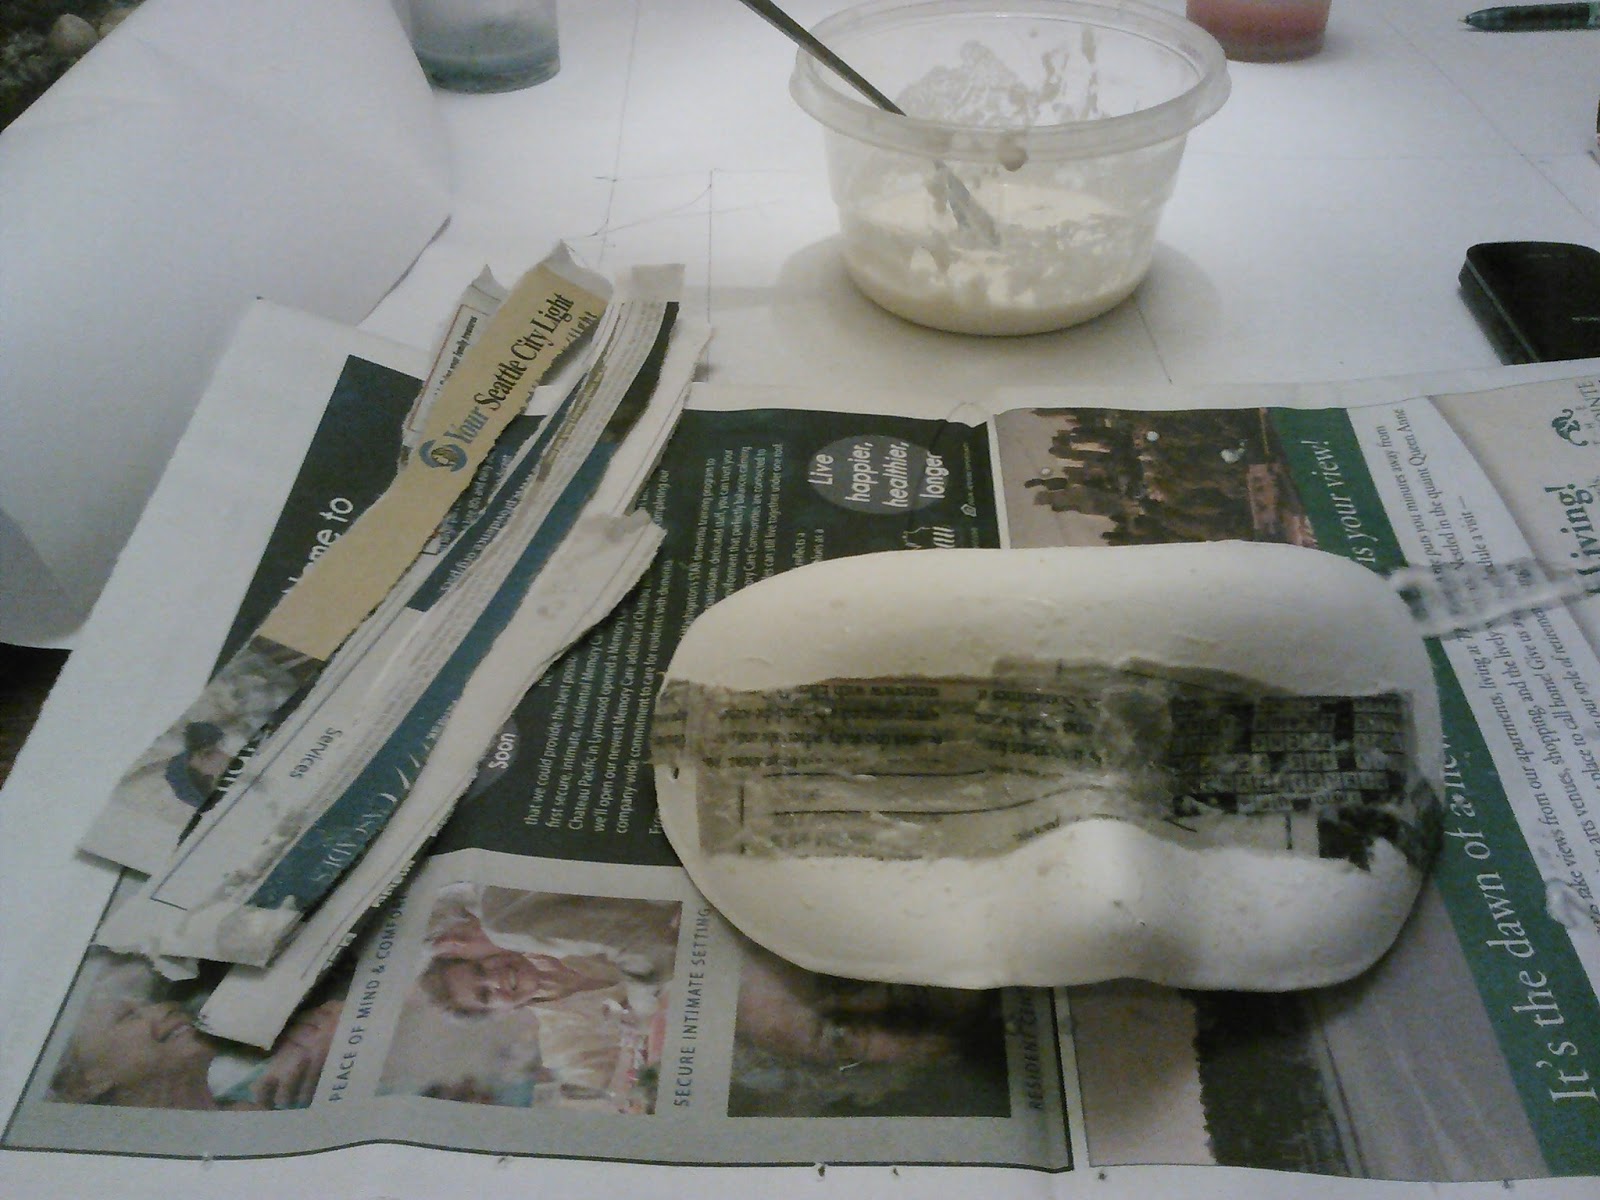
As it's going to be a sleep mask, I needed to close the eye holes. This is just paper mache made from newspaper and flour/water paste.
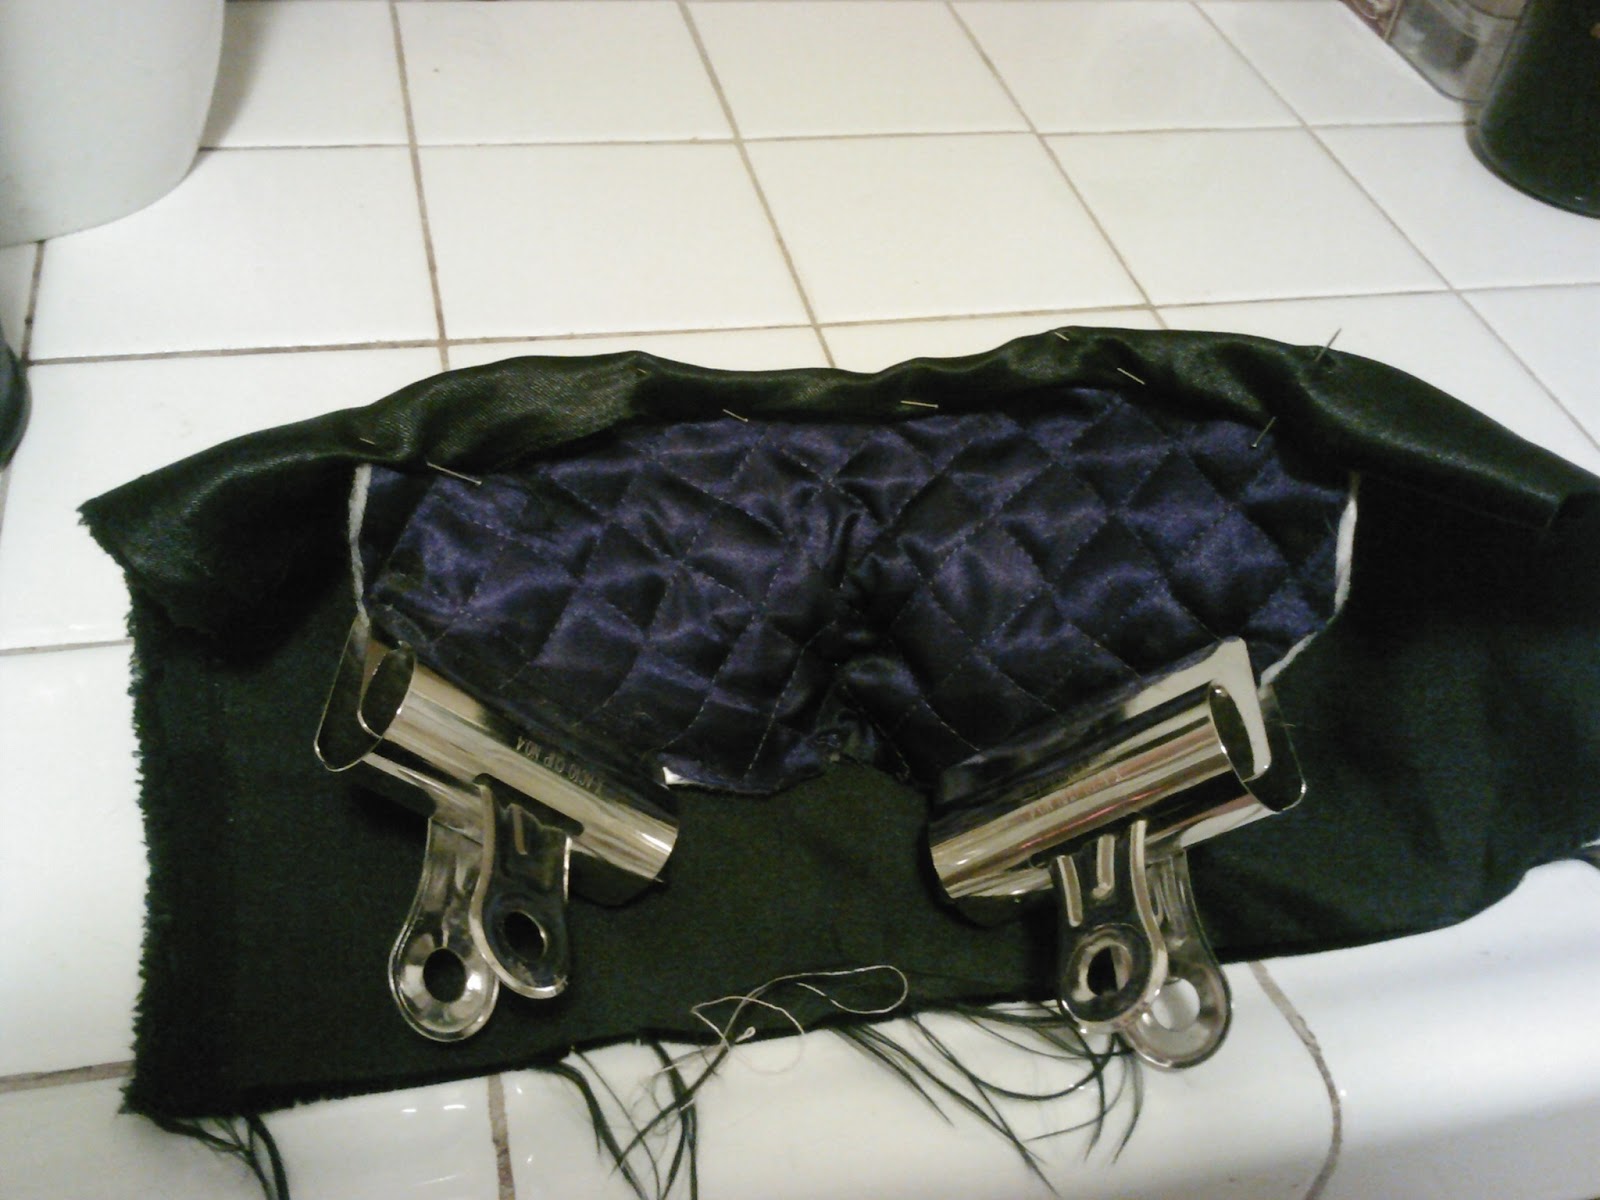
Here I glued some quilted fabric to the interior for padding.
I stuffed some extra fill into the cheeks to close the light leaks.
Glued and clamped the cheeks to the form.
Same image from the front.
Glued the front fabric to the front of the form and pinned the excess to the back.
Same view from the front.
Same view, with the fabric rolled down. I next ran glue down the eyes and on the cheeks to make the fabric tight on the face.
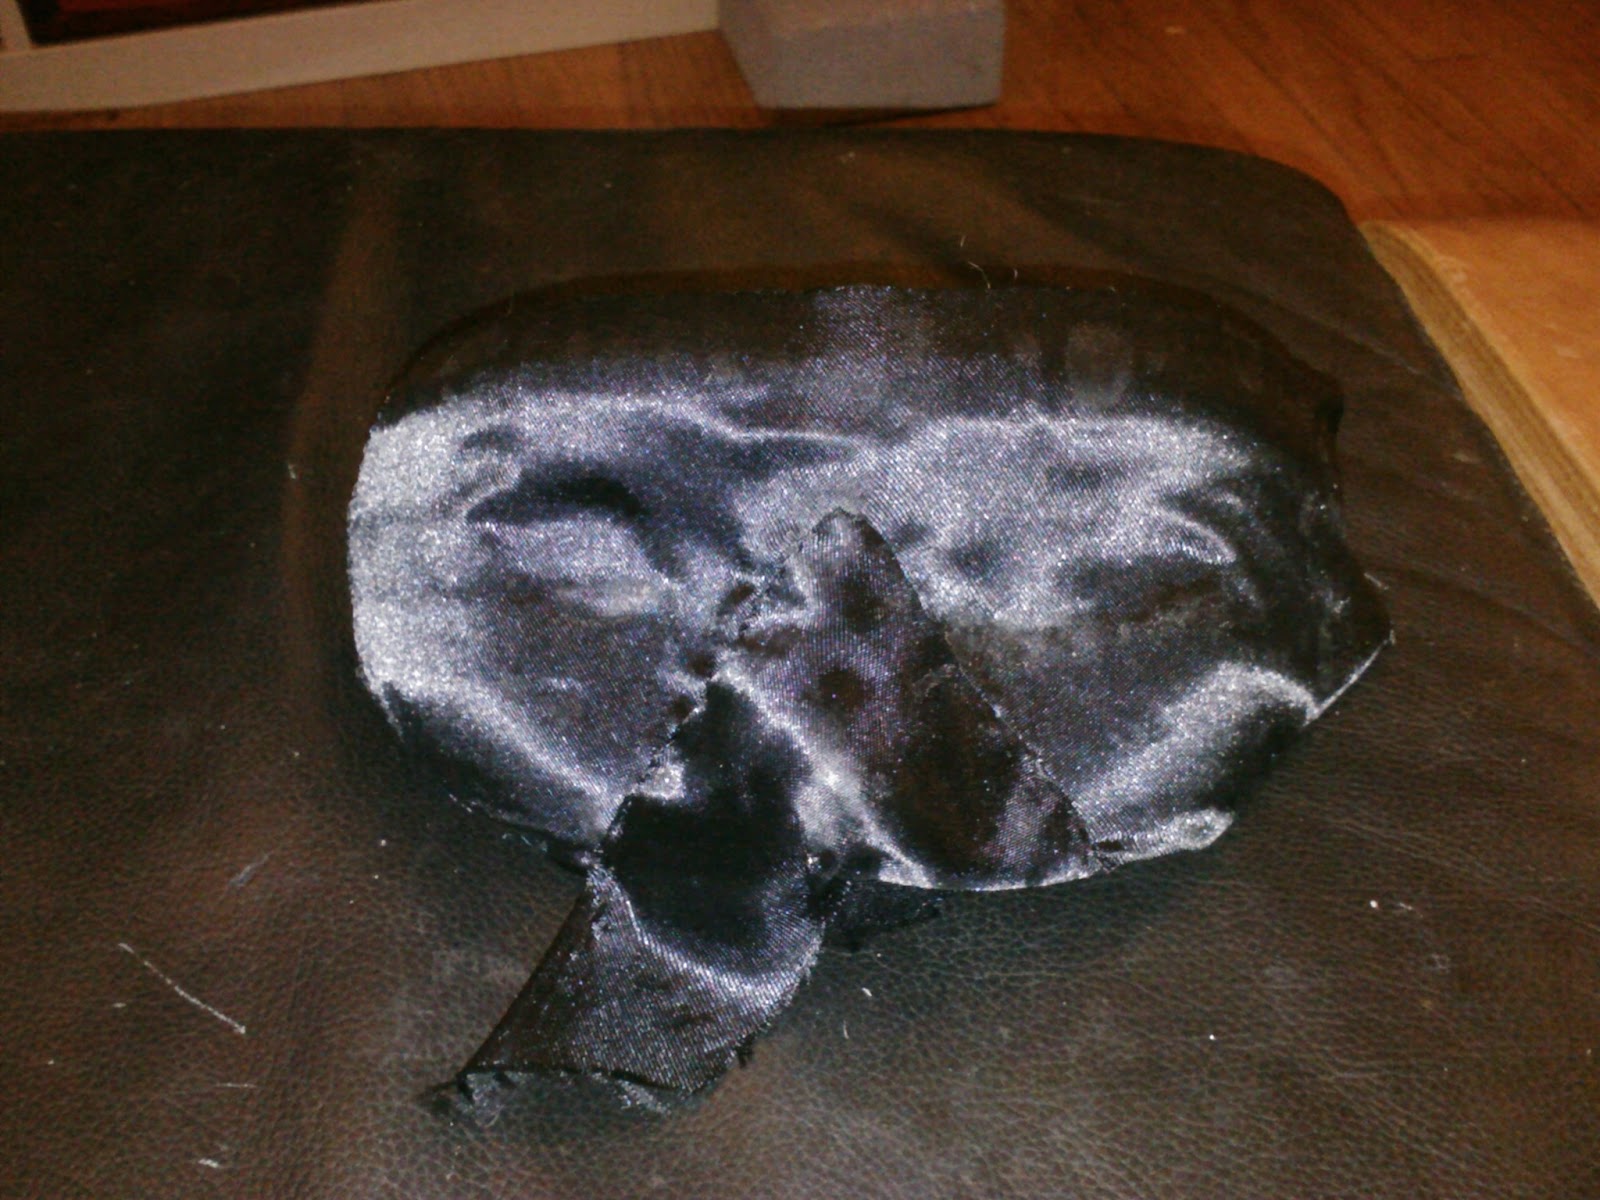
In order to smooth the fabric over the nose, I slit the fabric down the length of the nose, then added a triangular piece to cover the hole.
First was to sew the nose fabric to the glued on front fabric...
...then roll the excess to the back.
Here I am stitching around the edge of the form to keep the fabric rolled away from the face. The nose has a seam where I closed the hole around the nostril edge. It will be hidden later.
The finished edge.
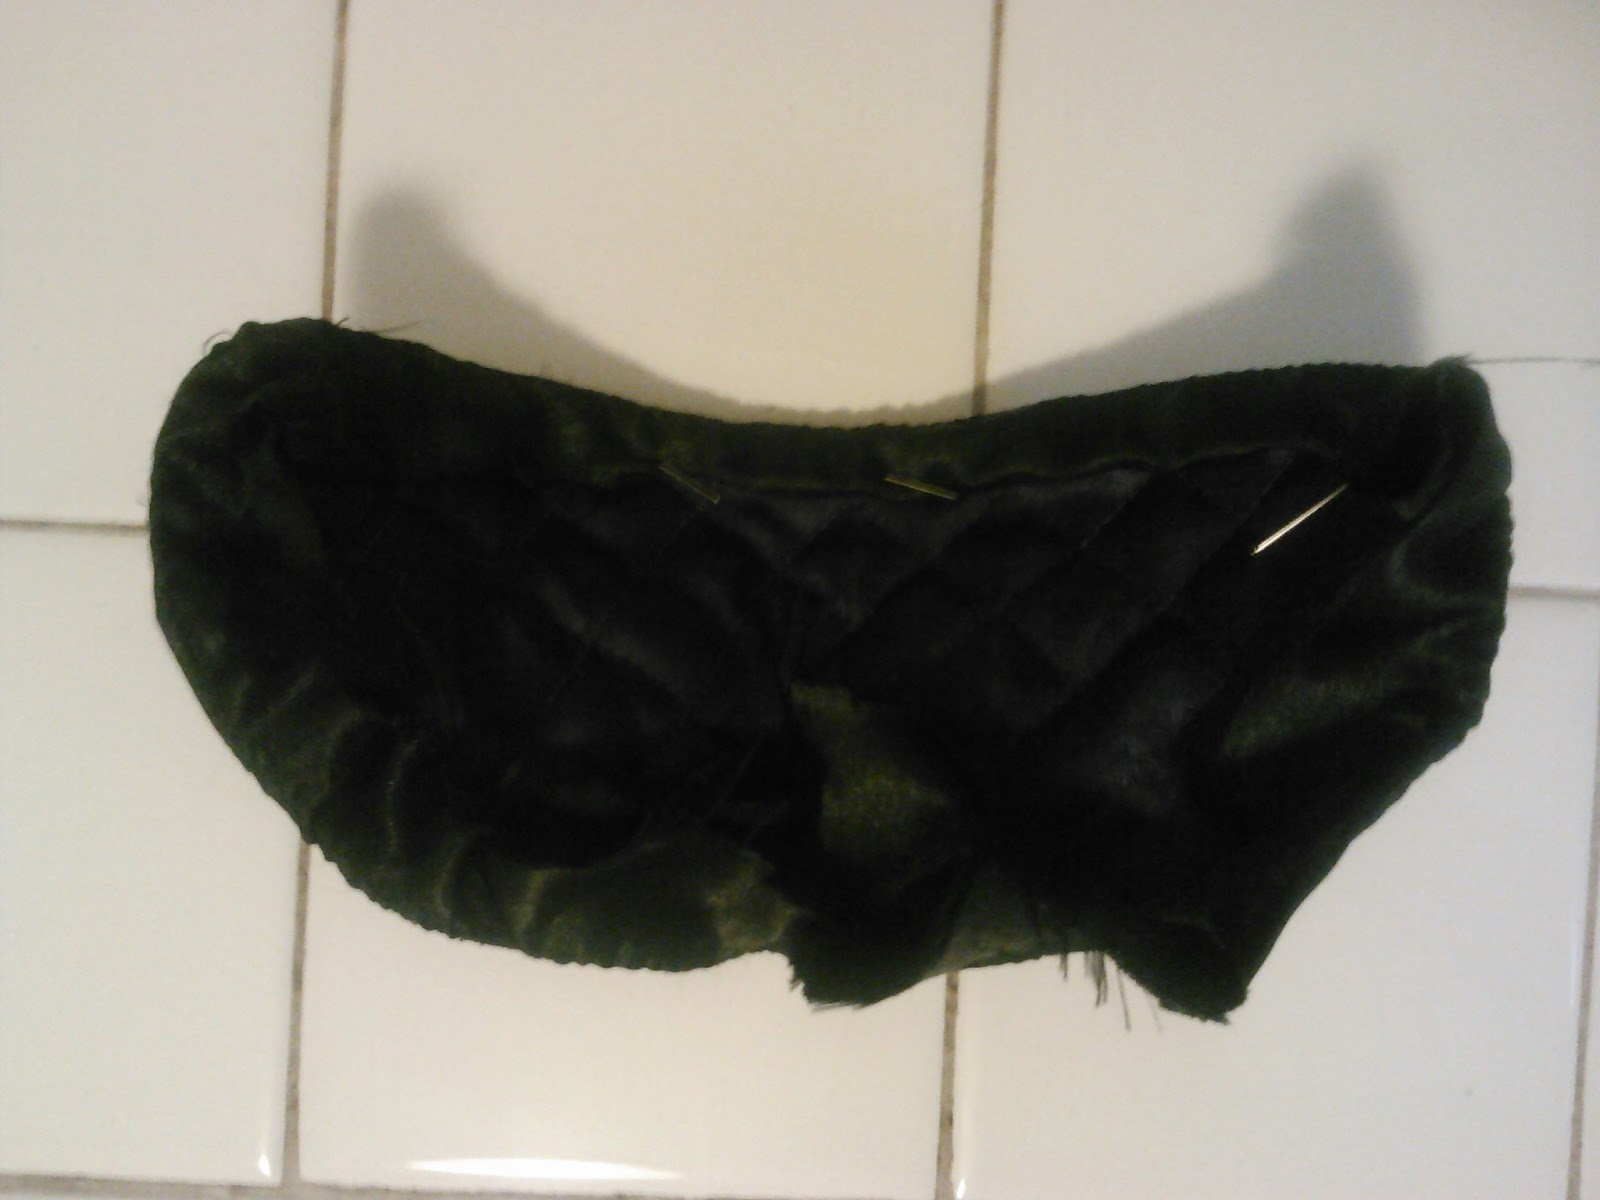
A prettier view on my counter top. The back is still raw.
I trimmed and tacked the fabric at the back, but the edge won't conform to the interior as the front fabric is not stretchy. I used Fray Block to keep the raw edges from getting too stringy.
I employed some flannel bias binding to cover the raw edges and decorate the front. Bias tape conforms to curves and flannel is very soft. It was first stitched to the front, then to the back. You can also see that I added in the ties under the bias tape. This is the finished interior.
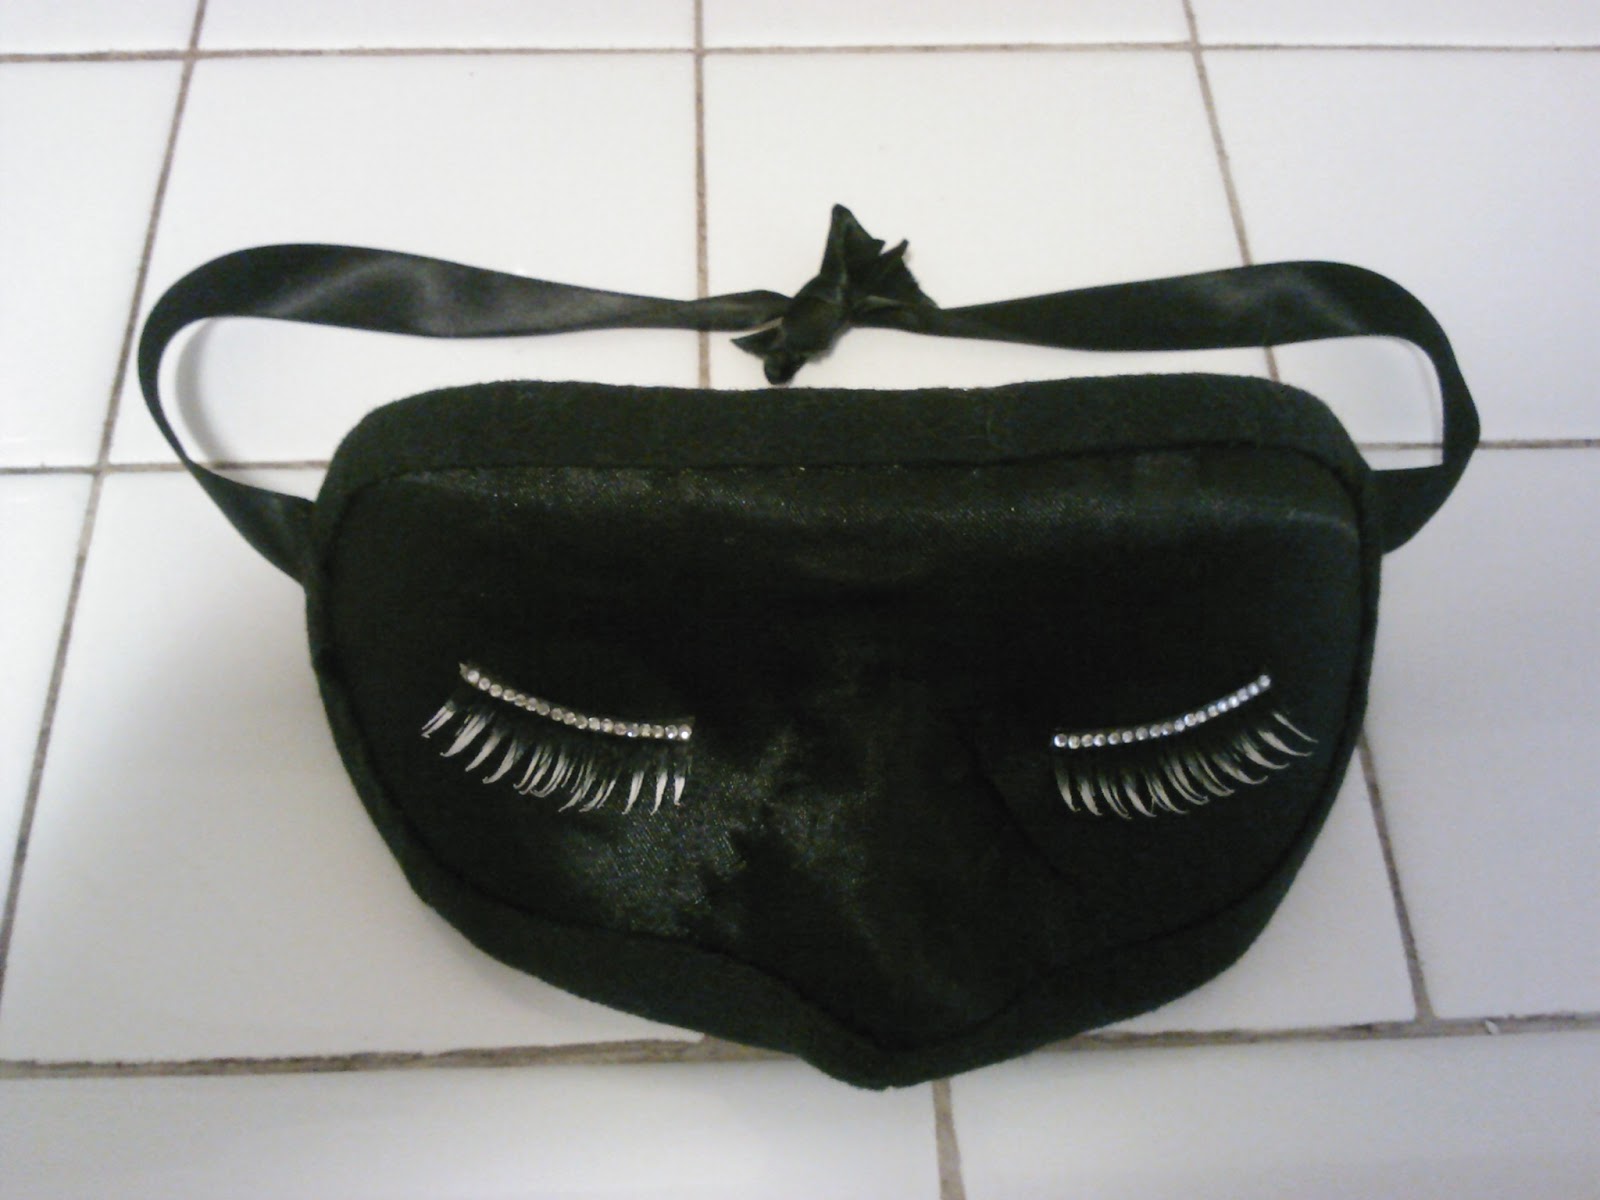
And here is the finished front, complete with adorable sleepy eye lashes.









No comments:
Post a Comment