This is going to be a long post. My room mate. April, asked if I could recover this amazing antique chair that she purchased from an estate sale. There were a lot of pieces to this project, but it's probably my best furniture work to date. I bring you:
THE SHINING (Chair)
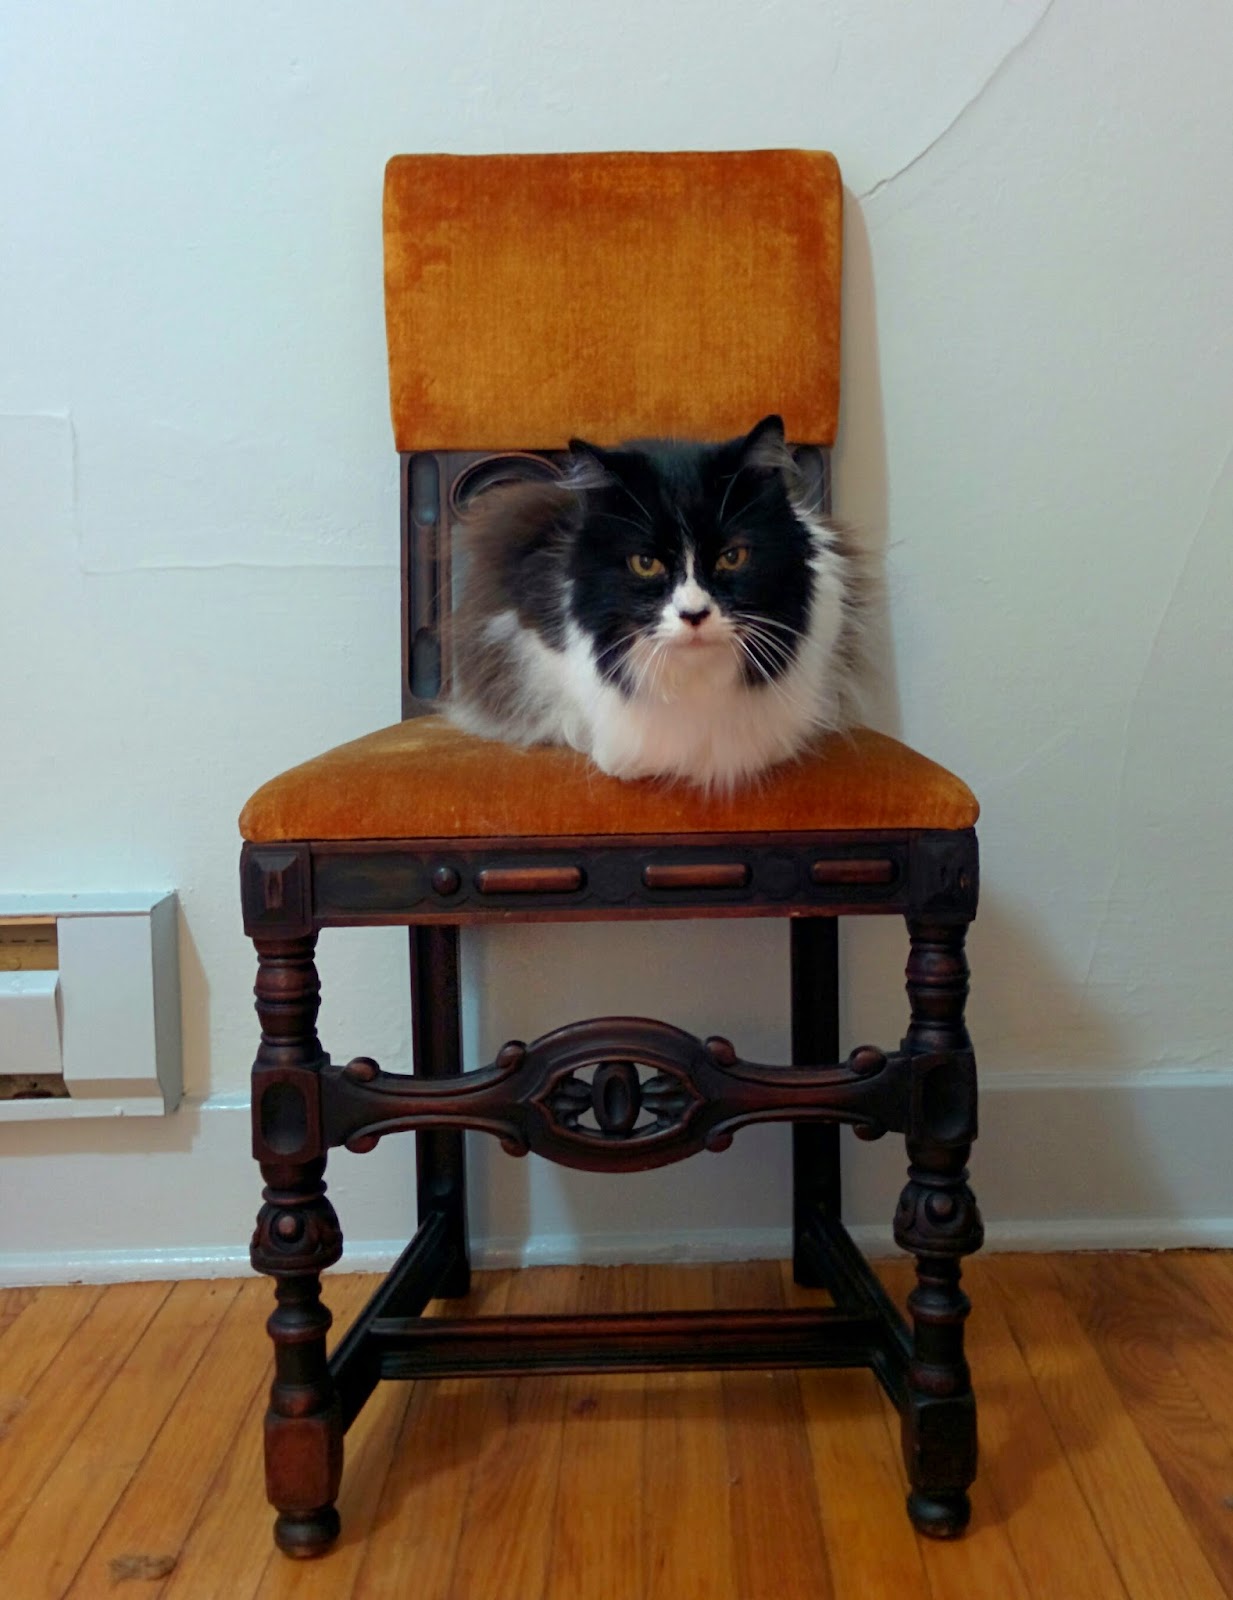 |
| Here's the chair. Cat for scale. That's Audun. |
 |
| Here's the inspiration. This is a hallway scene from the hotel in Kubrick's "The Shining". |
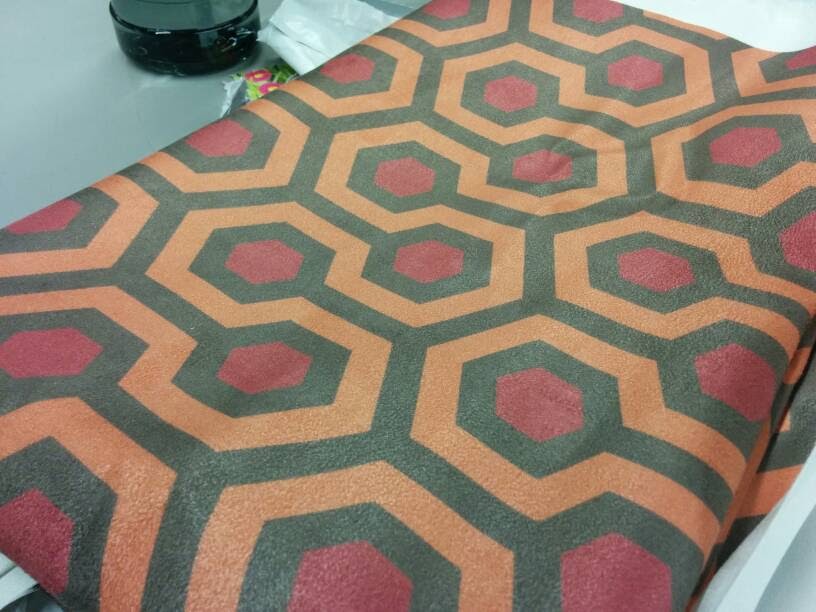 |
| April ordered this custom print faux suede by Salg, from Spoonflower. |
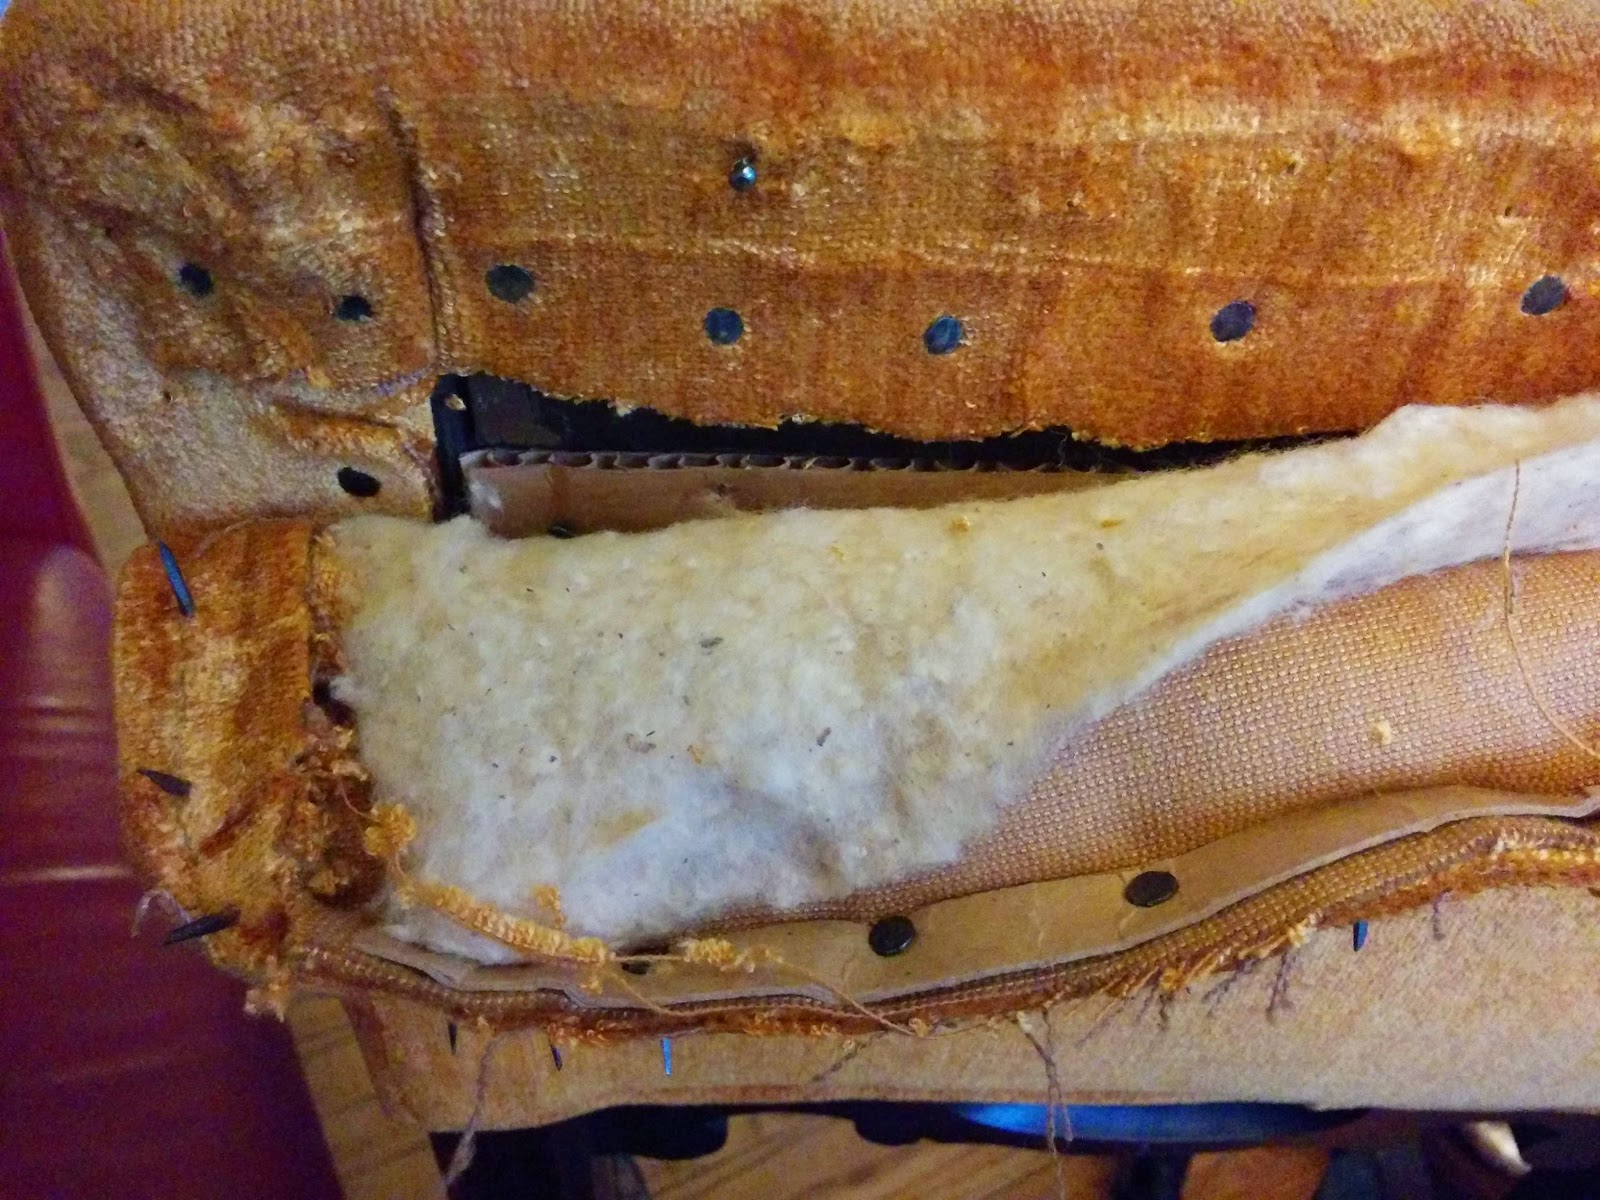
Here's the removal of the rear panel on the back. Note the tacking strips and actual nails instead of staples. There's a bit of cardboard in there for stiffening, and it's in great shape.
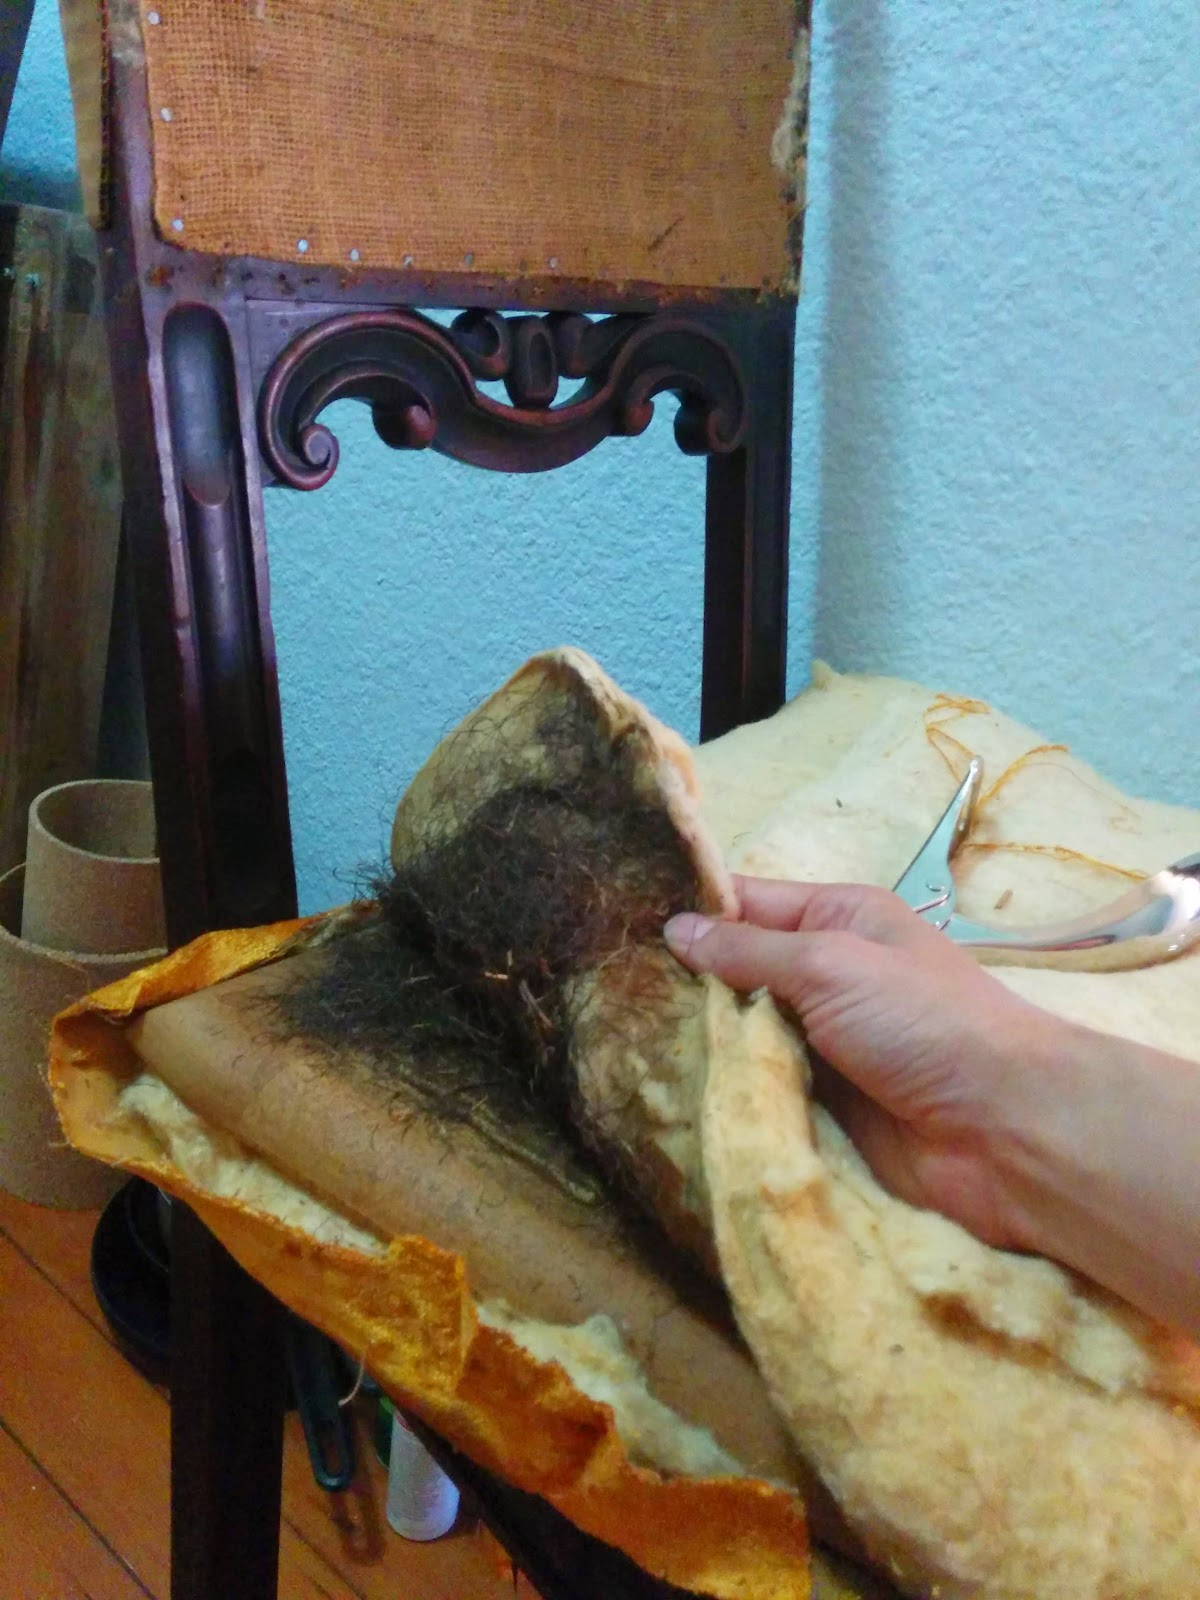
Spanish moss. This dates the chair to sometime between 1890 and 1960.
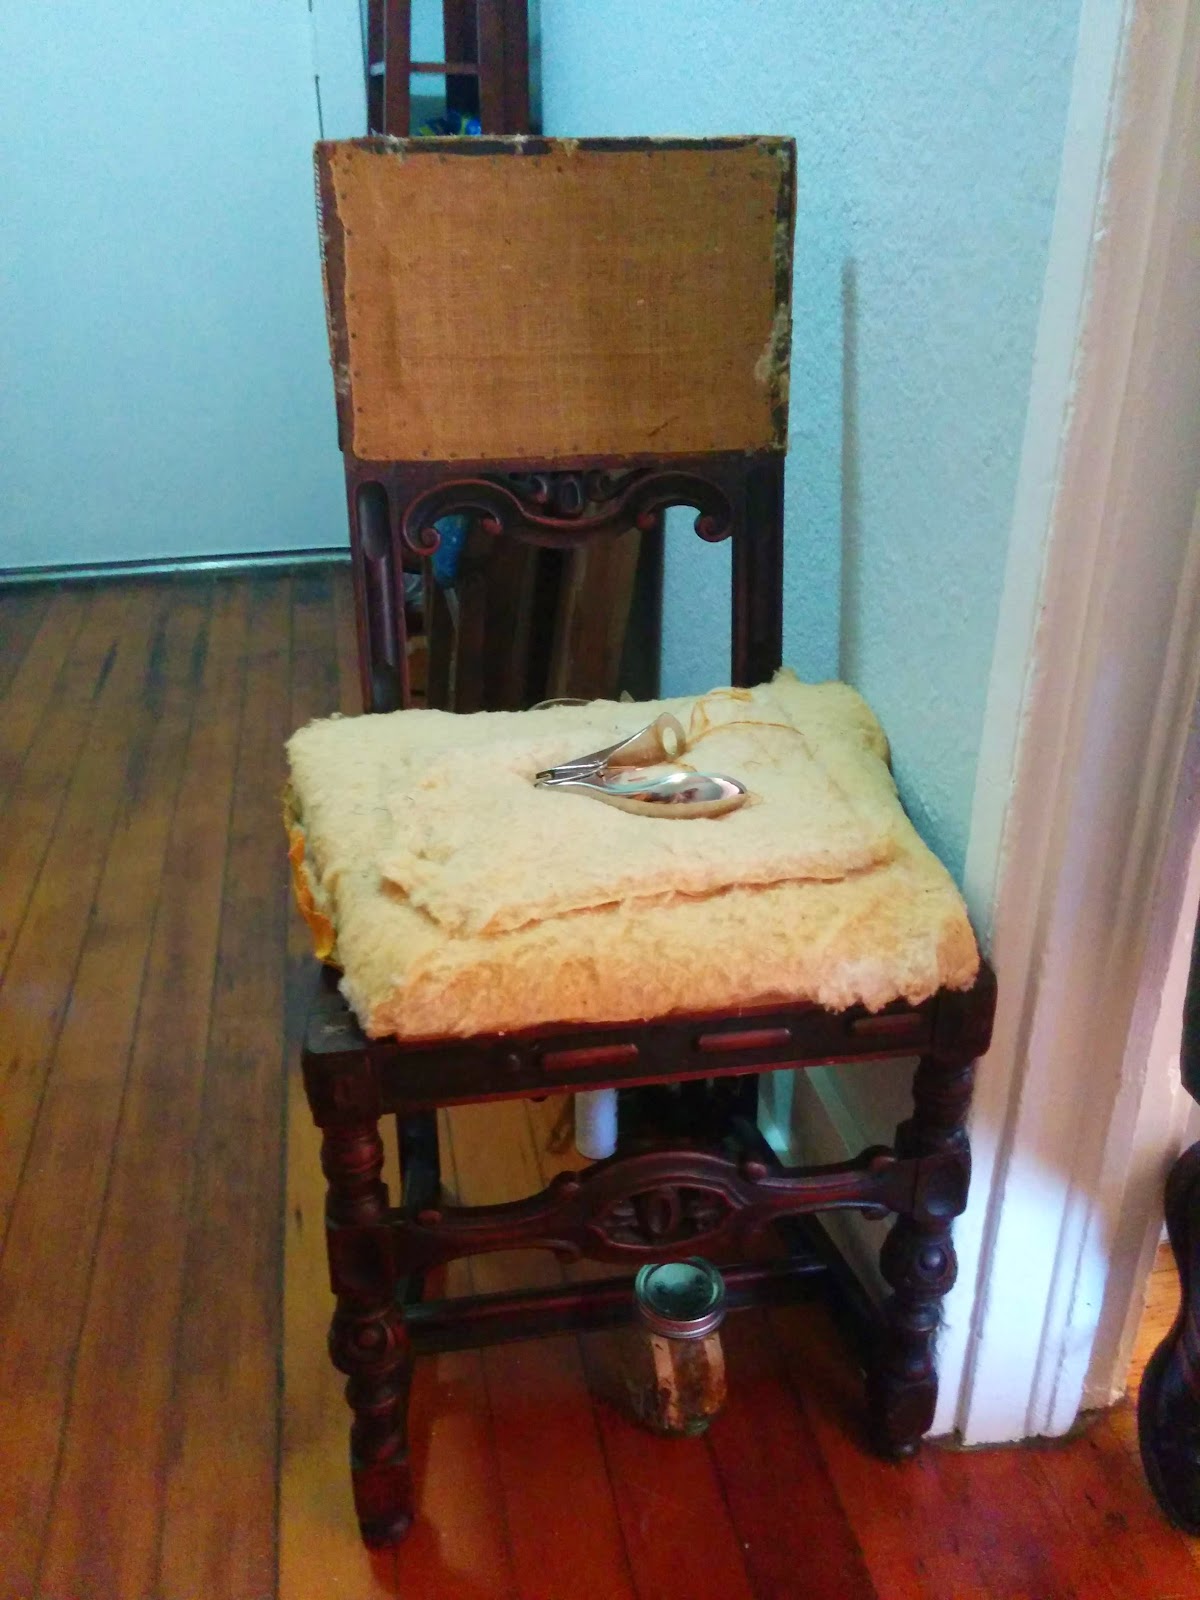
Here's the naked chair. We're thinking around 1930, Spanish Colonial from the scrollwork, nails and moss.
This fabric is basically a stripe, so I'm treating it as such in aligning it.
The center is pinned so I can align front to back. I cut this panel first, then the upper panel. I wanted the illusion of the hexes joining from seat to back. This took a bit of work, since I had to compensate for the width of the seat cushion.
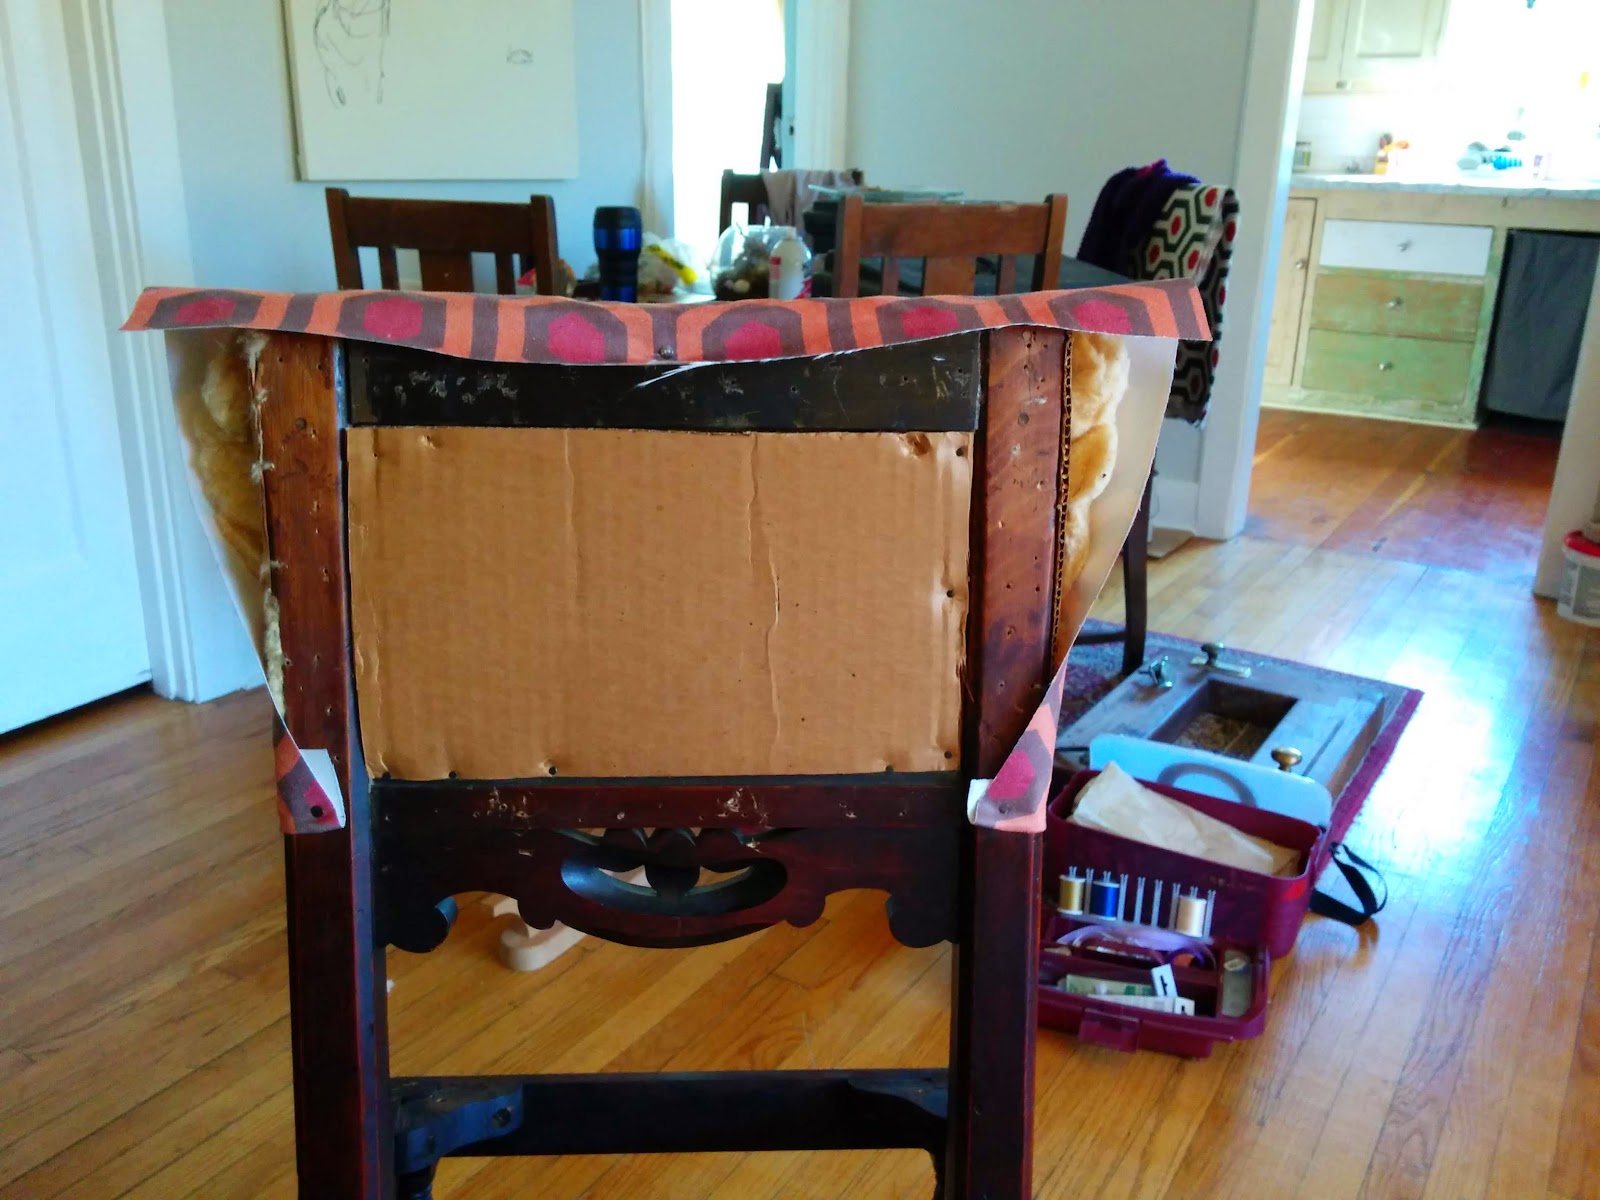
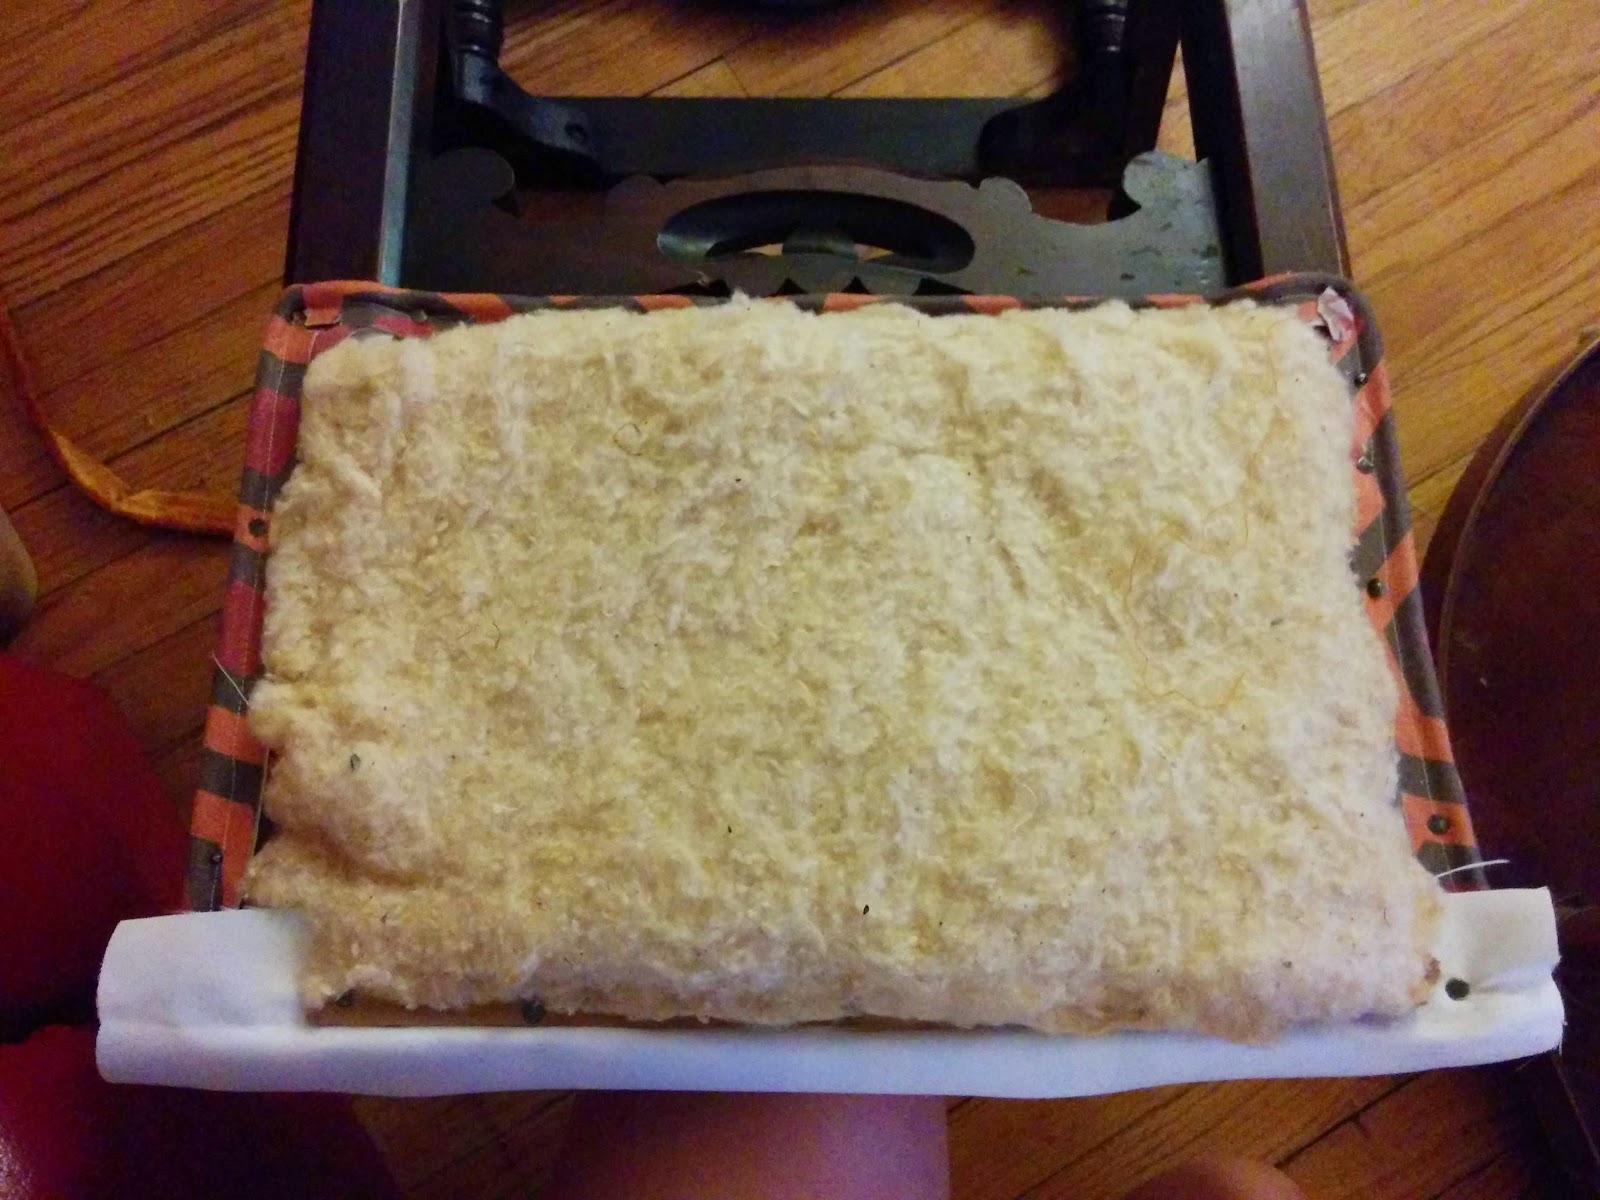
I didn't take pictures of the tacking of the bottom, but it works the same as the back. I tacked the bottom of the fabric on the front, lining up the edges of the hexagons, then pulled the fabric evenly around the batting to the back.
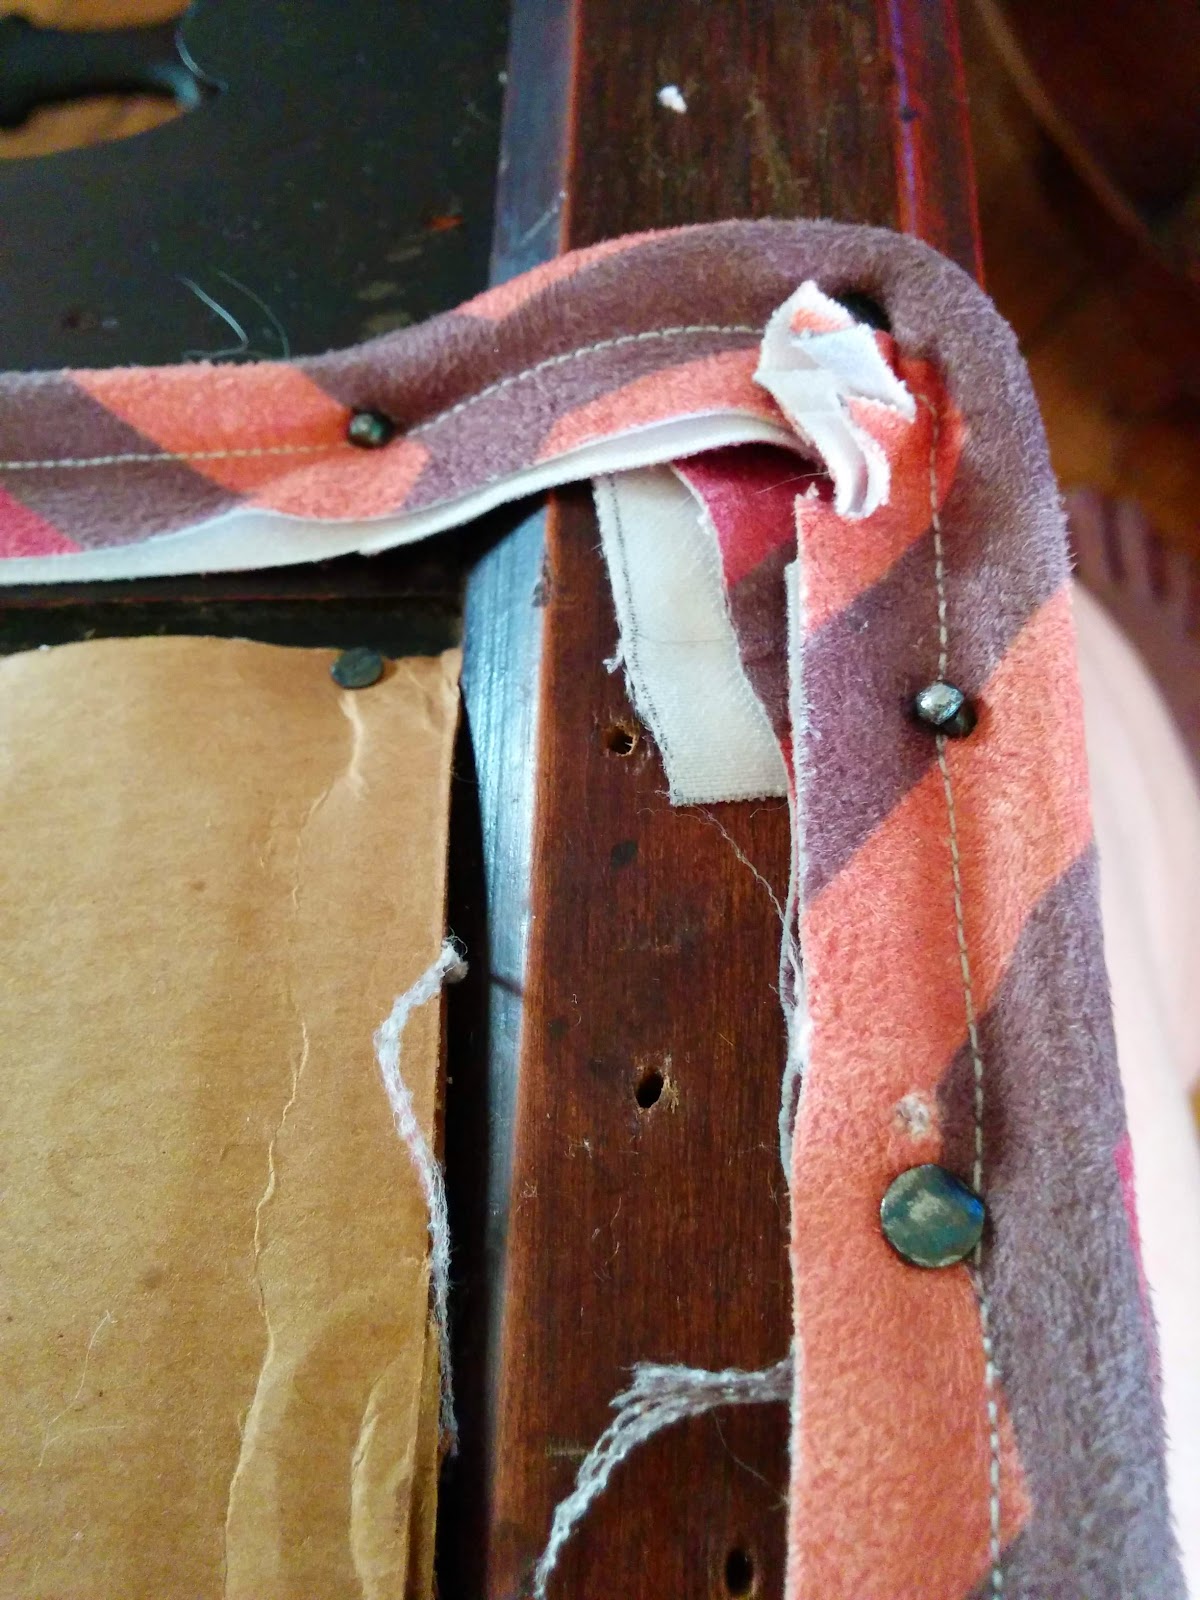
The corners are folded and carefully molded to form a single crease on the side. I cut away the excess fabric to get the edges to lay flat. Here, I'm aligning the remaining fabric to create the back panel. I ran a thread for alignment to make the pattern wrap to the back of the chair. There's a generous seam allowance tucked underneath.
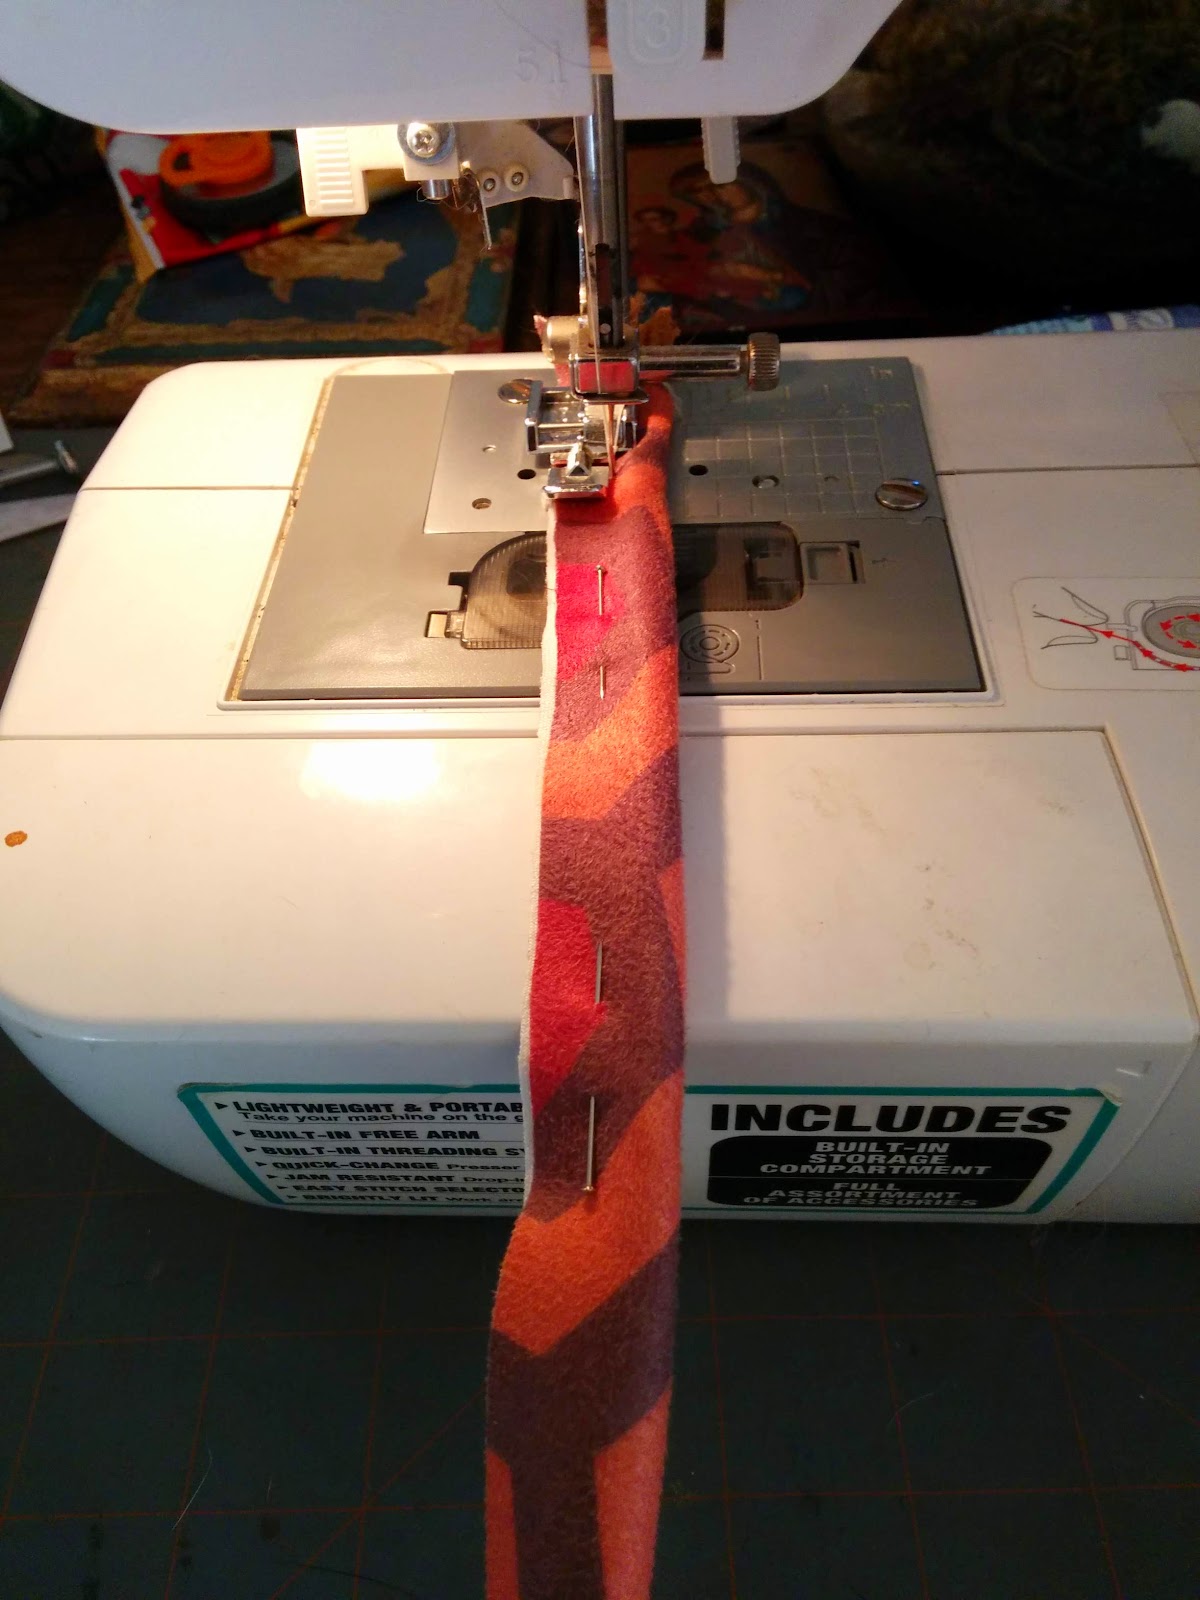
There was piping on the back of the back, which I replaced with new fabric. I cut out a bias strip from the remaining fabric. I reused the cord from the original piping to get the length. Piping must be cut on the bias (45 degree angle) or it won't be flexible.
I finally noticed my backward sewing. I pin along the seam, instead of perpendicular, usually upside down, and sew to the wrong side. It makes pin removal impossible, and working with wide fabric a pain. Still, I can't break the habit.
Here's the finished piping, being added to the chair back. I started at the bottom center, and tacked inside the piping seam for a close fit to the cord.
Corners are clipped and turned thusly.
The piping can hide some variation at the corner, if you are careful about tacking the two layers smoothly.
At the join, I stitched the two ends together. I would have simply layered on over the other, but the cord was a bit short for that method. The strongest thread I had was grey, so I just dabbed it with a black marker when I was done.
Once the piping was in, I tacked in the back panel that I cut previously. The alignment thread is flush against the piping cord. I used a tacking strip in the top edge.
Here is the aligned fabric. I lifted it up for this picture, to show how the hexes align even after the piping was installed.
The rear panel couldn't be tacked in, so it had to be sewn instead. A curved needle made the job so much easier. I passed it behind the piping and through the seam allowance of the panel, pulling the panel taught over the batting. The center stripe had to stay aligned during the process.
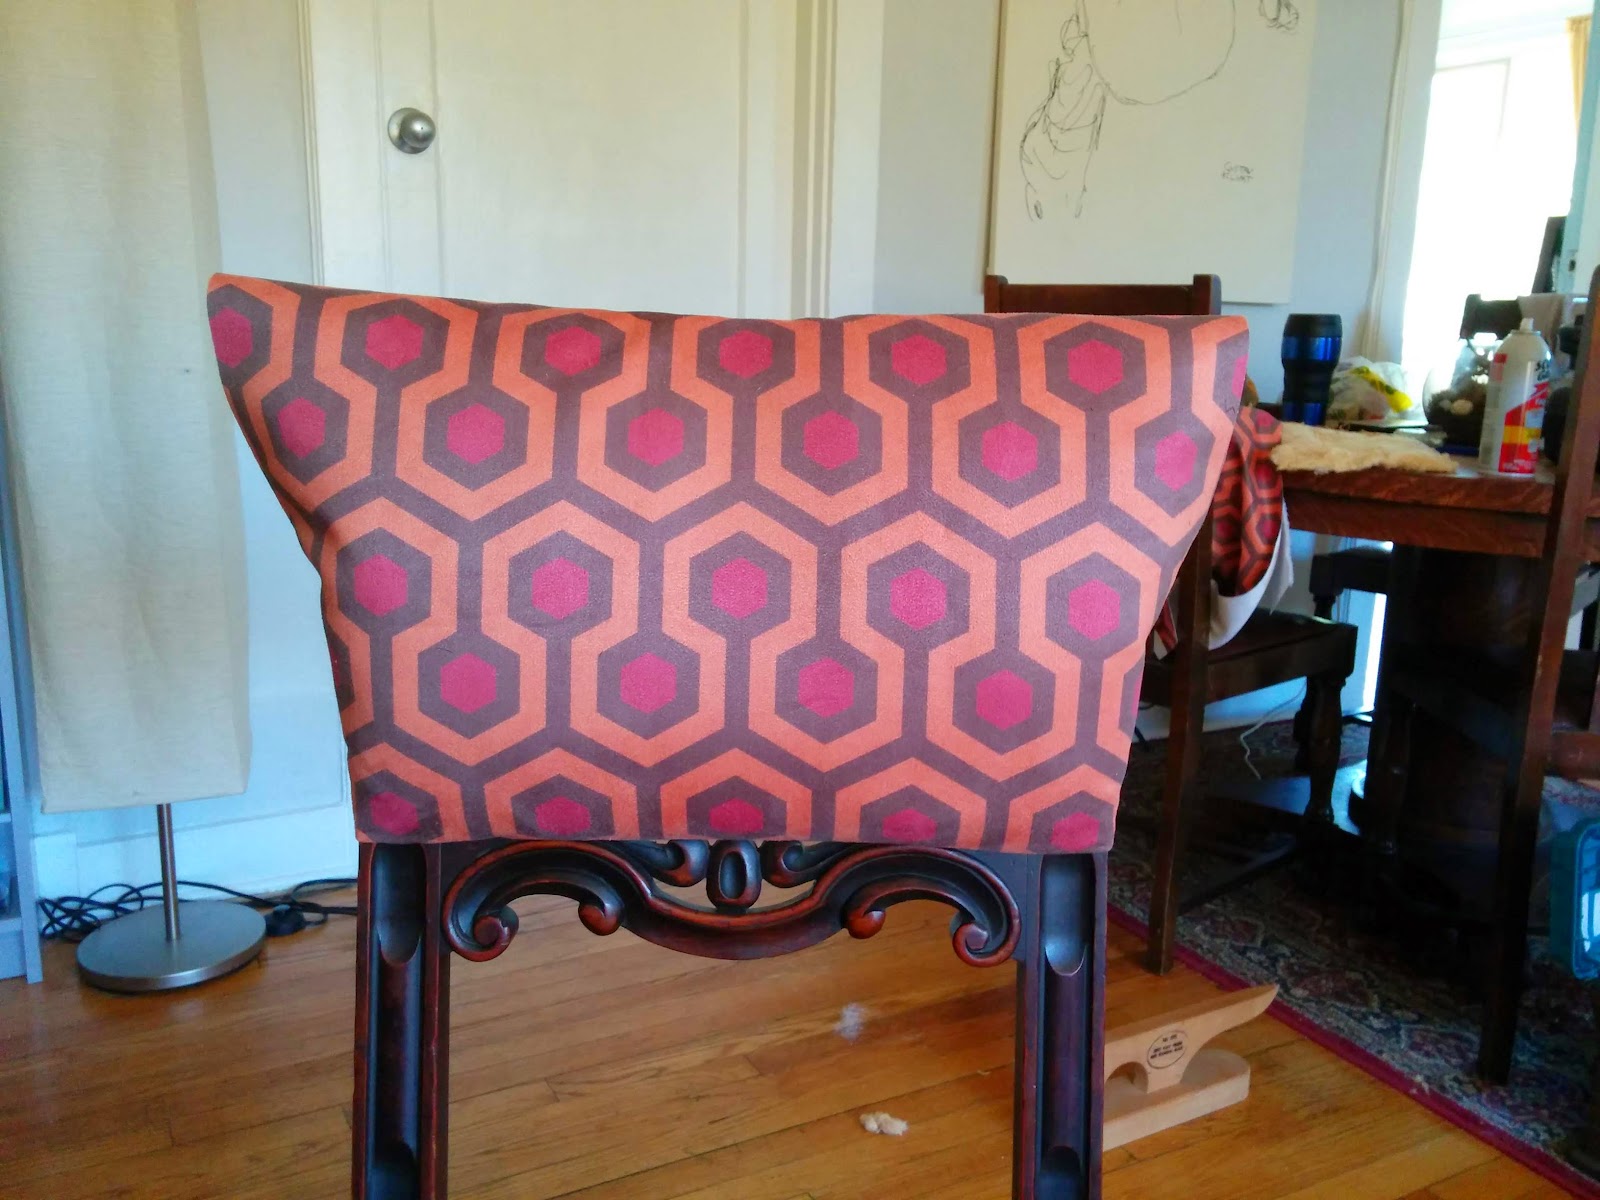
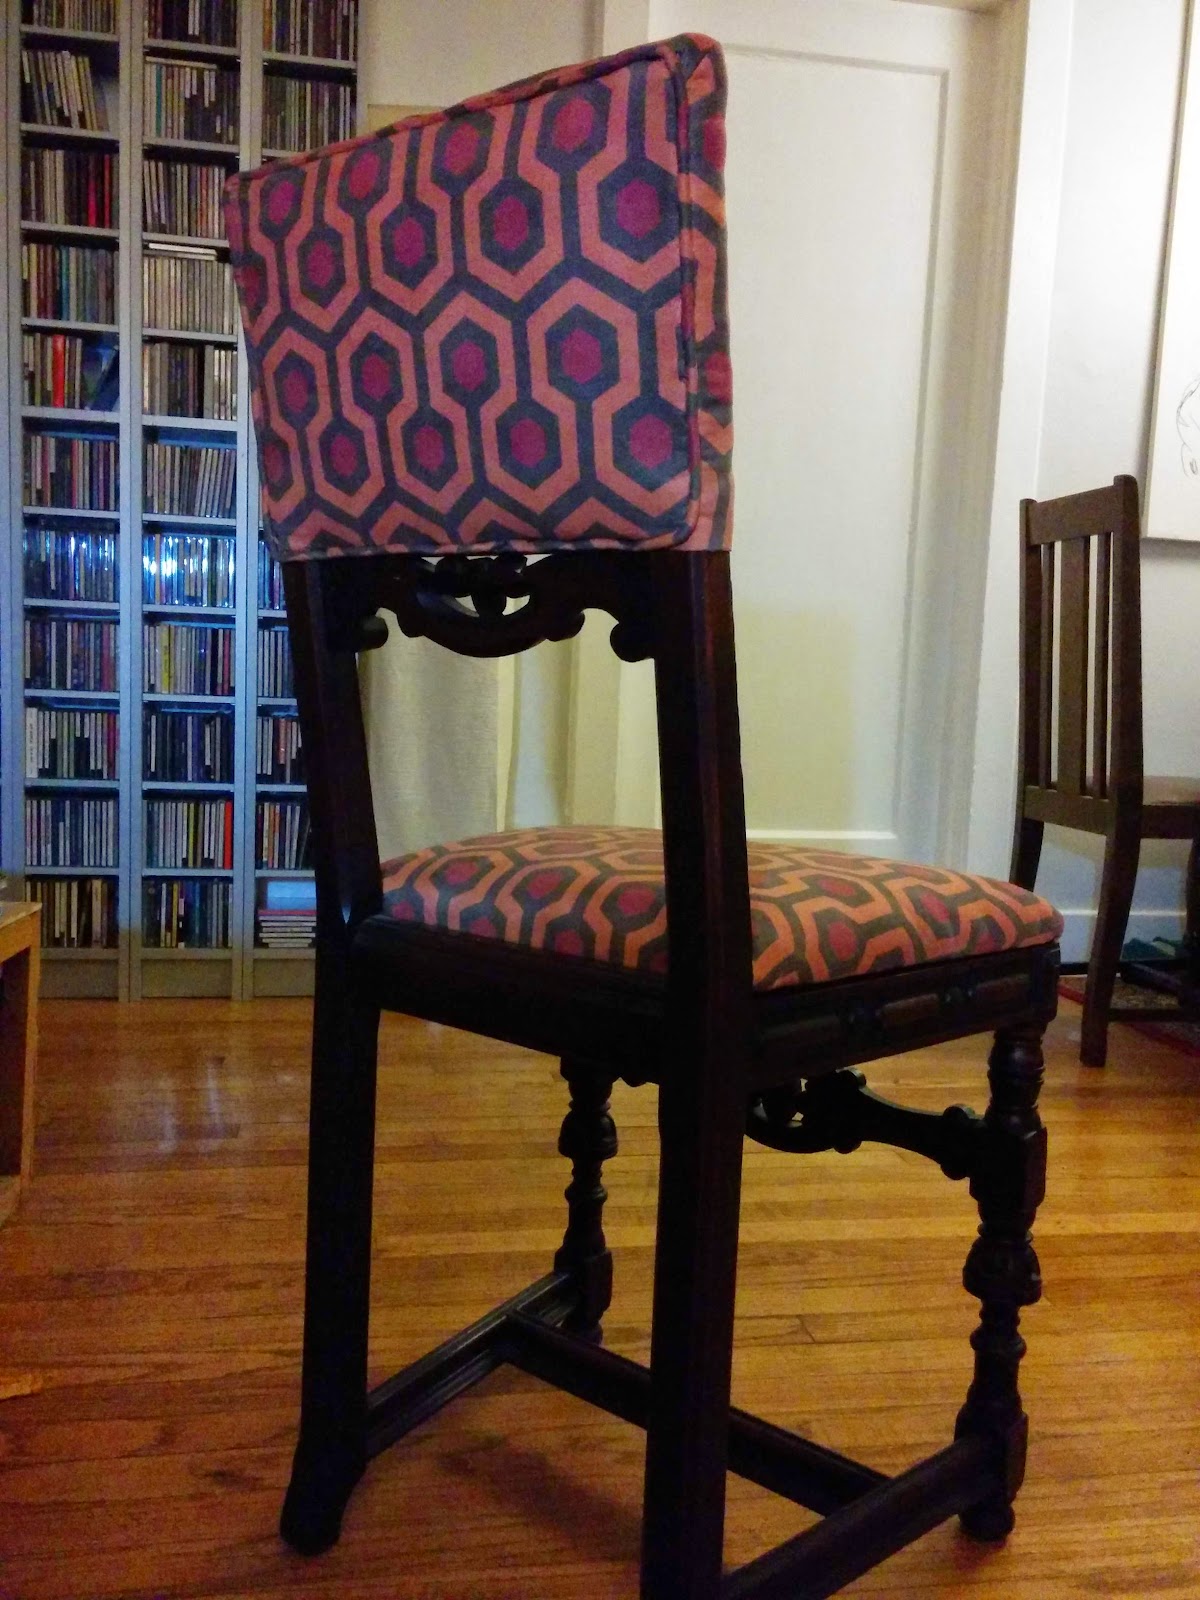
Here it is, completely installed.
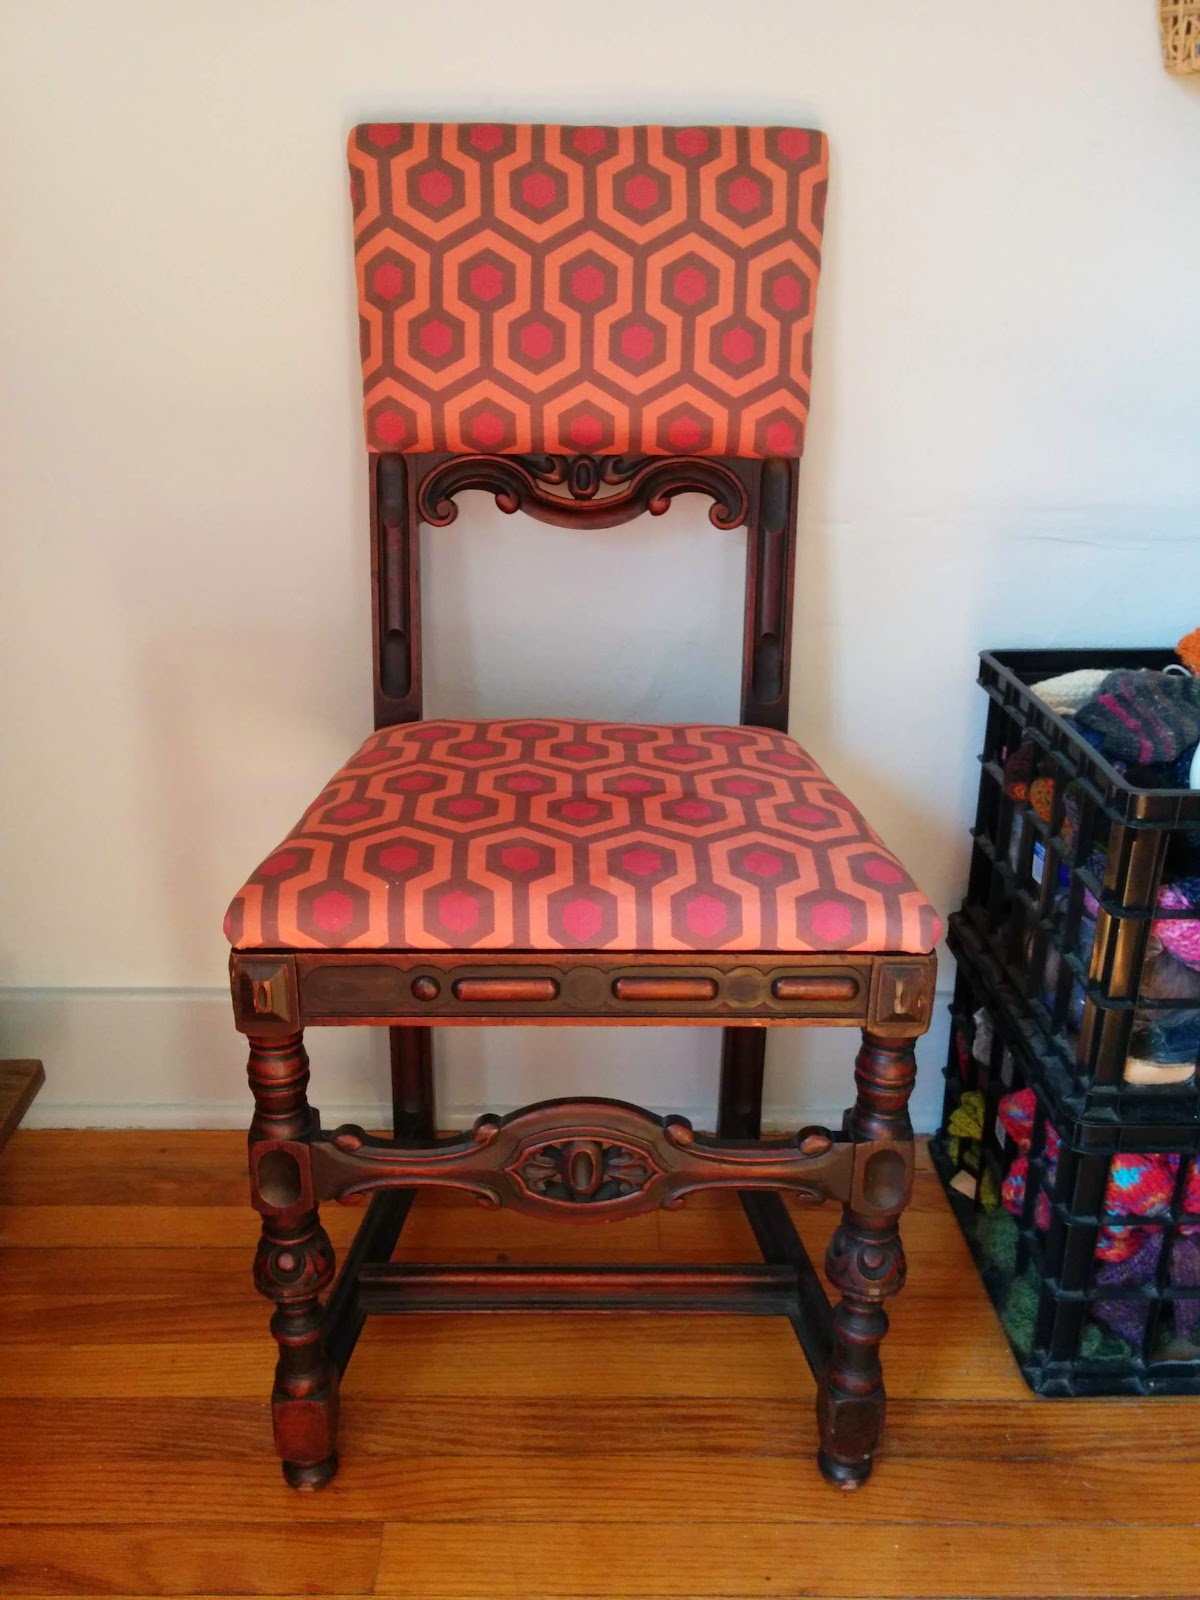
And from the front.









Just need some pdx airport carpet chairs now
ReplyDelete